
At its I/O developer conference, Google announced the first beta of the next version of its Android Studio IDE, Arctic Fox. For the most part, the idea is to bring more of the tooling around the building and testing of Android apps directly into the IDE. After the announcement, Google released different versions: the latest one is Beta 5 beside the stable version. There is also a Canary Bumblebee version available to download and this is the version that we will be talking about in this article.
Testing tools become very important for all Android engineers to test their apps rapidly and continuously. Android Studio Bumblebee introduces several new features and improvements to help them to run their automated instrumentation tests and see useful results that can be used to debug issues. These features are in addition to those launched in Android Studio Arctic Fox. Let’s explore them together.
1. Unified Gradle test runner
In previous versions of Android Studio, if we ran tests from Android Studio we used the IntelliJ Android instrumented test runner but if we ran from the command line or via the continuous integration (CI) we used the Android Gradle plugin. Because of this, we might see different test results, such as tests passing using one runner and failing on another.
To resolve this issue, the new version of the Android Studio, Bumblebee, now uses the Gradle Android instrumented test runner when running your tests from Android Studio, or from the command line using the Android Gradle plugin which drives your test results to be consistent.
How does it work?
To enable using Gradle test runner from Android Studio, follow these steps if you have macOS:
1. From the Android Studio menu, click on Preferences, then click on Testing, under the Build, Execution, Deployment section.
2. And check Run Android Instrumented Tests using Gradle

And you can now run tests using the Gradle test runner.

2. Gradle Managed Virtual Devices
Managed Virtual Devices is a feature that allows you to configure virtual test devices in your project's Gradle file to create, deploy, and tear down those devices when executing automated tests. So no need to worry about creating virtual devices before the tests — you can now just configure it and this feature improves your testing experience.
How to use it
If you have an existing Android project, you can open the Module build.gradle file and add the configuration inside it. If not, you can follow these steps (and you can find the code repository here):
1. Open Android Studio and select a new project.

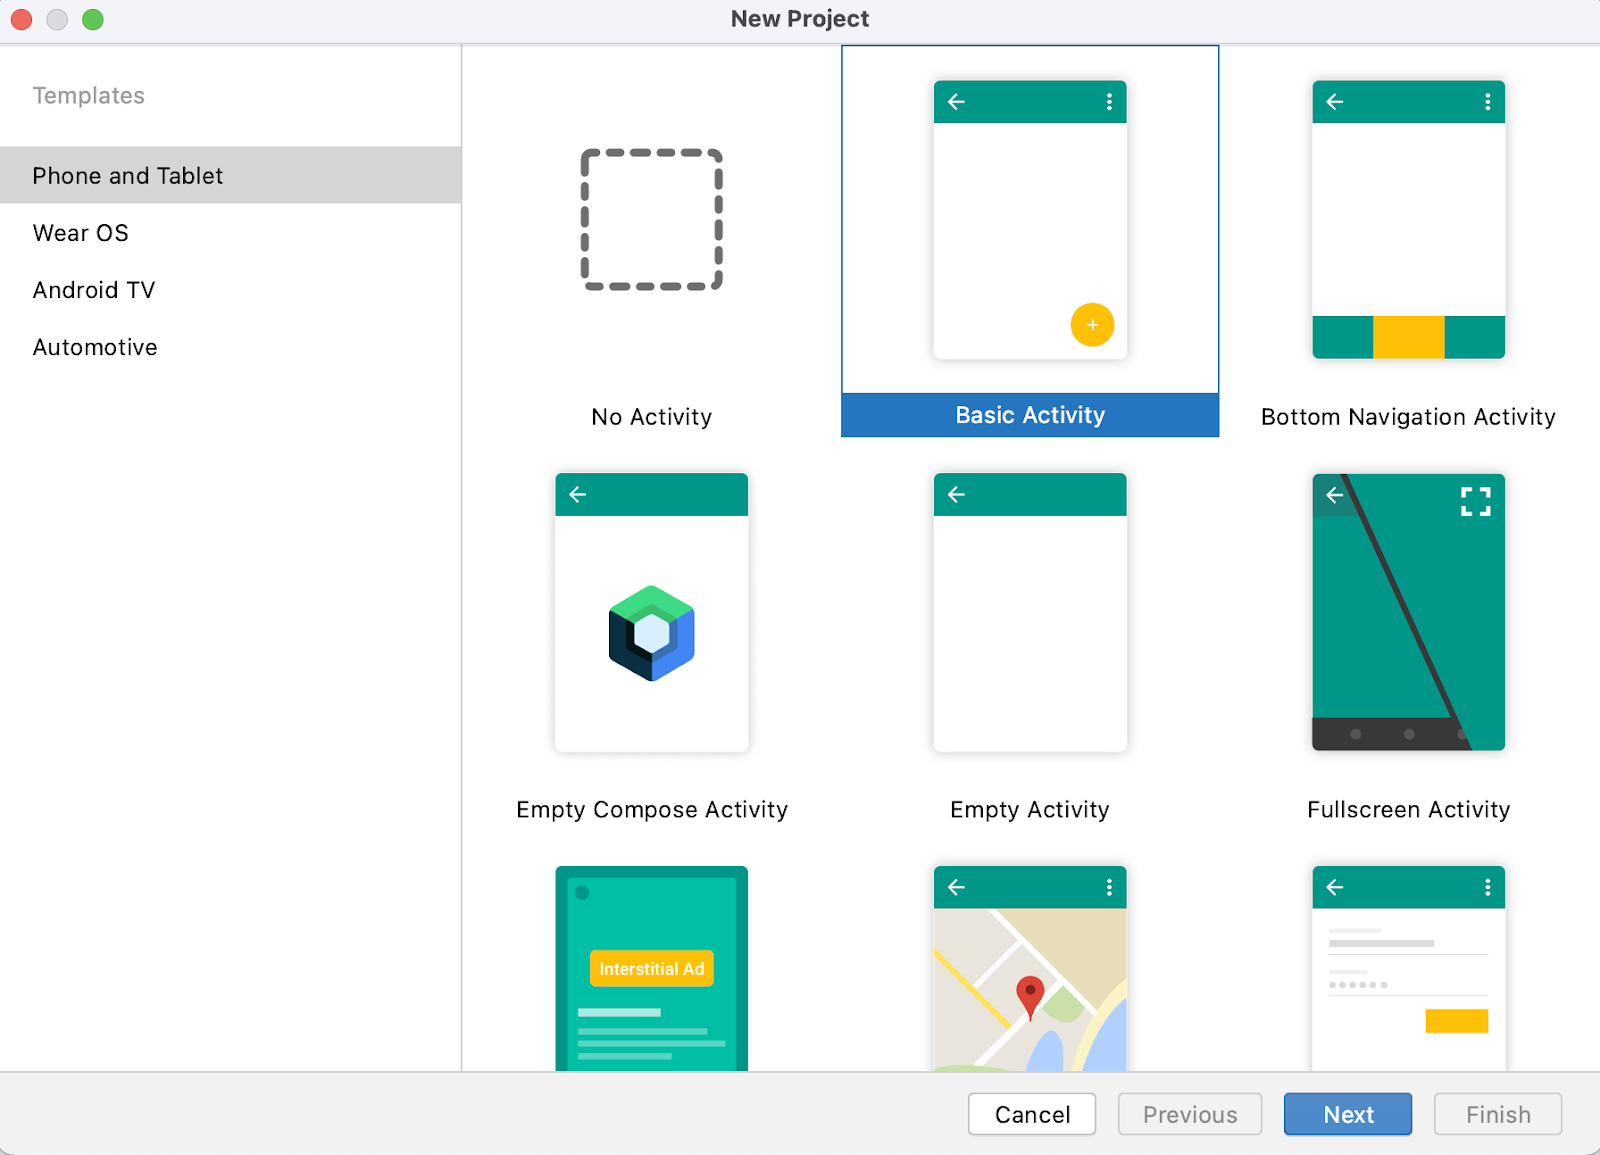
2. Add the project name and click Finish.

3. Wait until Gradle downloads the required files and builds the project successfully.
4. Our project is now ready. By default, we have an ExampleInstrumentedTest file inside the androidTest folder.

5. Click on the AVD Manager from the toolbar or from the Tools menu > AVD Manager, and if you don’t have any previous emulators, the window will look like this:

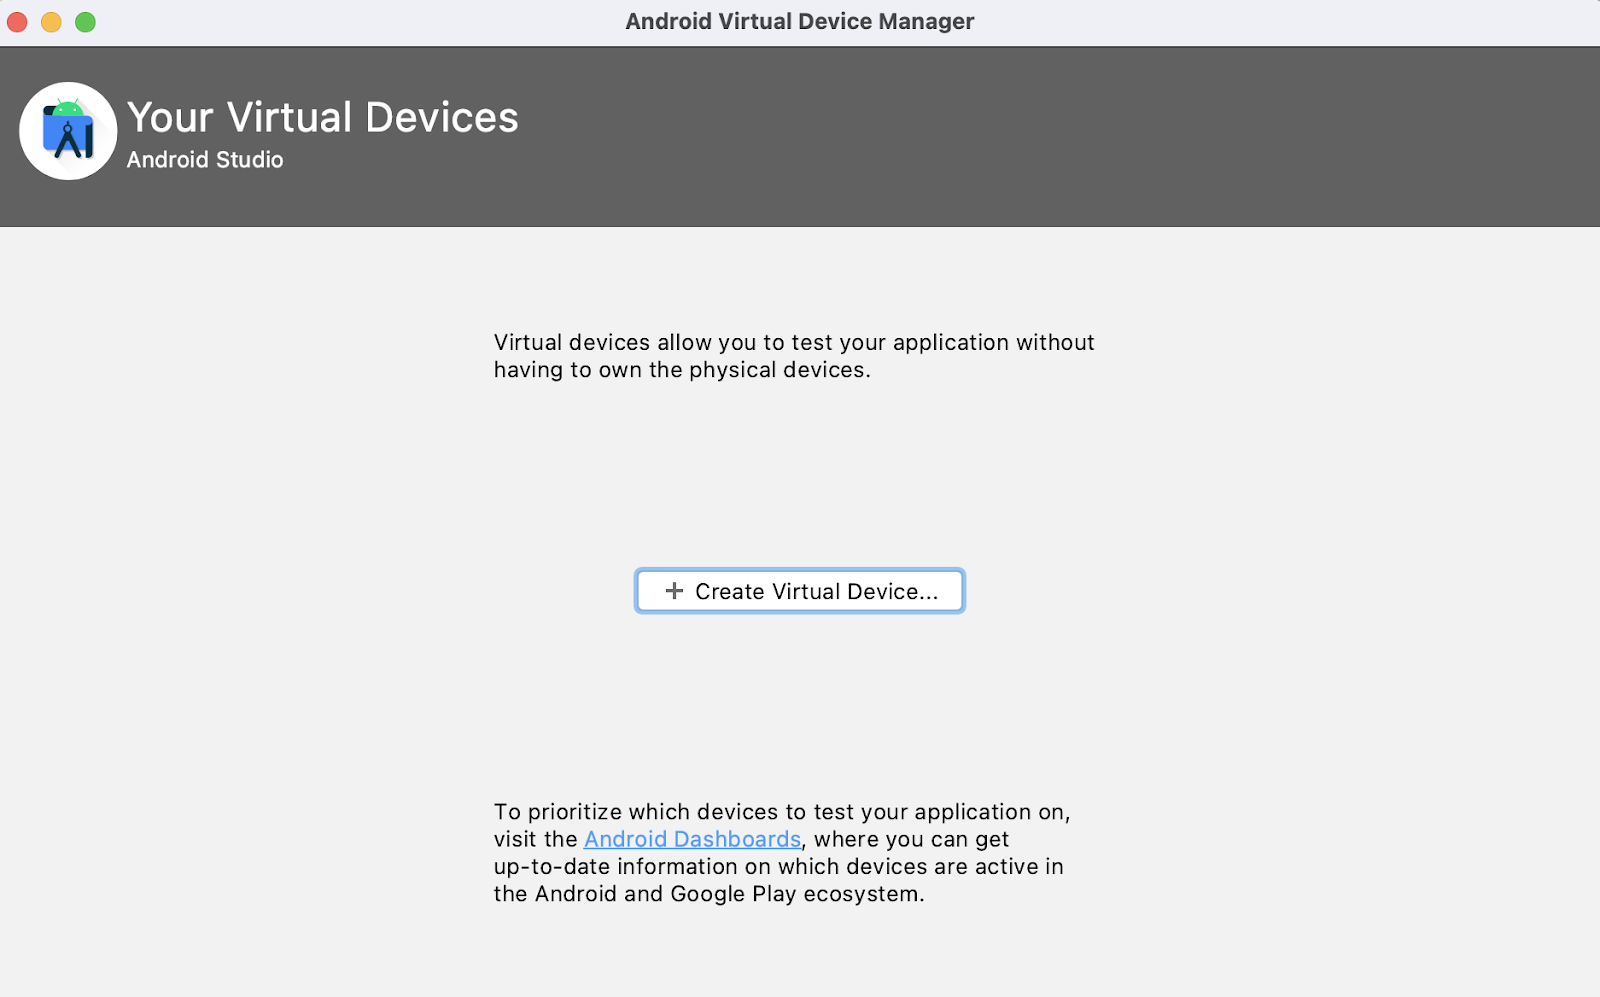
We don’t need to create virtual devices or emulators because we will use the Gradle Managed Virtual Devices.
6. You just need to ensure that you already have different Android SDKs installed on your machine from the SDK Manager.


7. Open the Module build.gradle file and under the Android section we will add the following code snippet:

You can change the device and the apiLevel to what you like and based on your installed SDKs.
8. Before you run the tests, open the terminal and write adb devices
You will notice that there is no device attached to your machine.

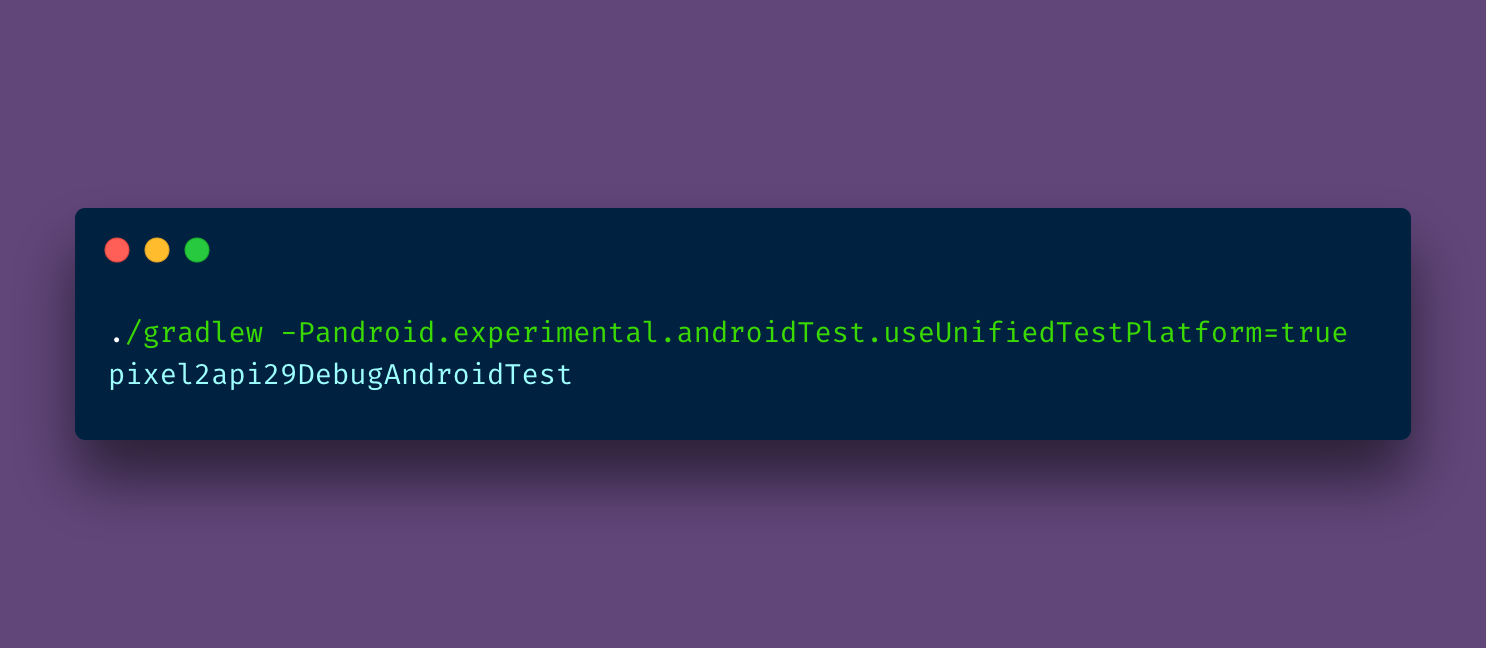
9. Now it’s time to run our test using the following command. device-name is the name of the device you configured in your Gradle build script (such as pixel2api29), and BuildVariant is the build variant of your app you want to test, for example, Debug or Release.
Gradle will start building our application, create the emulator, run the tests to the device in a headless mode, and after that, close and destroy the device.
You will notice that the emulator is created but still offline. Try the adb devices command again and you will find that the device state is changed.


And after that, you will find that the test run successfully 🎉✌🏻

And the test results will be like the following:

Can I run my tests in parallel with different devices?
Yes, you can also configure multiple devices with the previous configuration using the following:

Then, Gradle can execute the tests across all the devices in the group in parallel which will help you to scale your tests across multiple device configurations such as different API levels and different factors using the following command:

And the command will build the app, run the tests across our configured devices and you can check the test results in the output folder. It should look like the following:
Note:
This is still an experimental feature, so sometimes you can face unstable behavior.


3. Emulator Snapshots for test failures
The next feature in the Android testing tools is snapshots for test failures. With the new version of Android Studio, you can configure to take and save screenshots if our tests failed, which is useful because sometimes it’s difficult and time-consuming to reproduce that test failure again and in this case, the test will be marked as a flaky test.
When we run the test on the device, it takes a snapshot at the time of failure. After your test run completes, you can then reload the snapshot on the same device to reproduce and investigate that failure.
You can enable this feature in different ways. The first option is from the configuration window of the instrumented test like the following:

And if you enable it from here you have also another option to specify the Max Snapshots per test run and Compress snapshots together.

The second way is to enable it in the Gradle configuration like the following:

Note:
This feature works with Gradle Managed Virtual Devices but you need to import the test results in the Run view to be able to check them. With the normal emulators, they should use SDK version 30.4.3 or higher.
To make our test fail, change the package name in the assertion to a name other than com.example.helloandroid. For example, com.example.hello.

Now you can run your tests from the command line like the following:

The test will fail because the assertion and the results will look like this:

And in the test output folder, you will find the screenshot with a name like
snapshot-ExampleInstrumentedTest-useAppContext-failure0.tar

To import the test results, you can open the Run Menu and select Import Tests from File and select the test-result.pb to open it

After that, the test results will be displayed in the Run view.


Additionally, if you want to run it with the existing emulator, you can run the test as usual from the run command or icon beside the test.

But first, you need to enable the snapshot in the test configuration:

Run the test now and will find the test results in the Run view with the screenshot.


Thank you for reading and I hope you found this article useful.
Code Repository
https://github.com/moatazeldebsy/explore-new-android-studio-testing-tools
Further Reading

%202.png)

