Automated mobile testing is a solution to produce a high-quality, robust, and reliable app with the ever-growing complexity of technology and under massive competitive pressure, and helps achieve cost optimization.
Writing UI tests is not just ‘nice to have’ anymore. In different companies, the responsibility of mobile test automation is shared between mobile developers and test engineers.
There are different tools and frameworks to write UI tests for iOS apps such as XCUITest, EarlGrey, and Appium but in this article, we will use XCUITest.
What is XCUITest?
XCUITest is a UI testing framework launched by Apple in 2015. With XCUITest, we can test user interface or Apple platform apps using Swift or Objective-C programming language. XCUITest works only with native apps written in Swift or Objective-C.
One of the advantages of using XCUITest is the collaboration between developers. Once iOS developers and Test Engineers use the same language to write code, collaboration becomes easy, which can help them better understand the app functionality and leads to a better quality app. Also, It’s already prebuilt into Xcode, so basically, no need to install or download anything else if you already have Xcode.
What’s fastlane?
fastlane is an open-source platform aimed at simplifying Android and iOS deployment. It lets you automate every aspect of your development and release workflow and it’s the easiest way to build and release mobile apps.
Why fastlane?
- fastlane’s automation tasks can save you hours, especially when you push a new release to the store or beta testing service.
- It integrates with more than 400 tools and services.
- It offers easy setup, runs on your machine, and integrates with all major CI systems such as Bitrise, CircleCI, GitHub Actions, and more.
- It supports iOS, Mac, Android, and cross-platform apps, such as Flutter.
Getting started with fastlane
To install and configure fastlane on your local machine, you can use Homebrew with macOS or Bundler, but before that, you should install and configure Ruby on your machine.
fastlane supports Ruby versions 2.5 or newer. More about the setup can be found here.
Then you can initialize fastlane into your iOS or Android app by the following command:
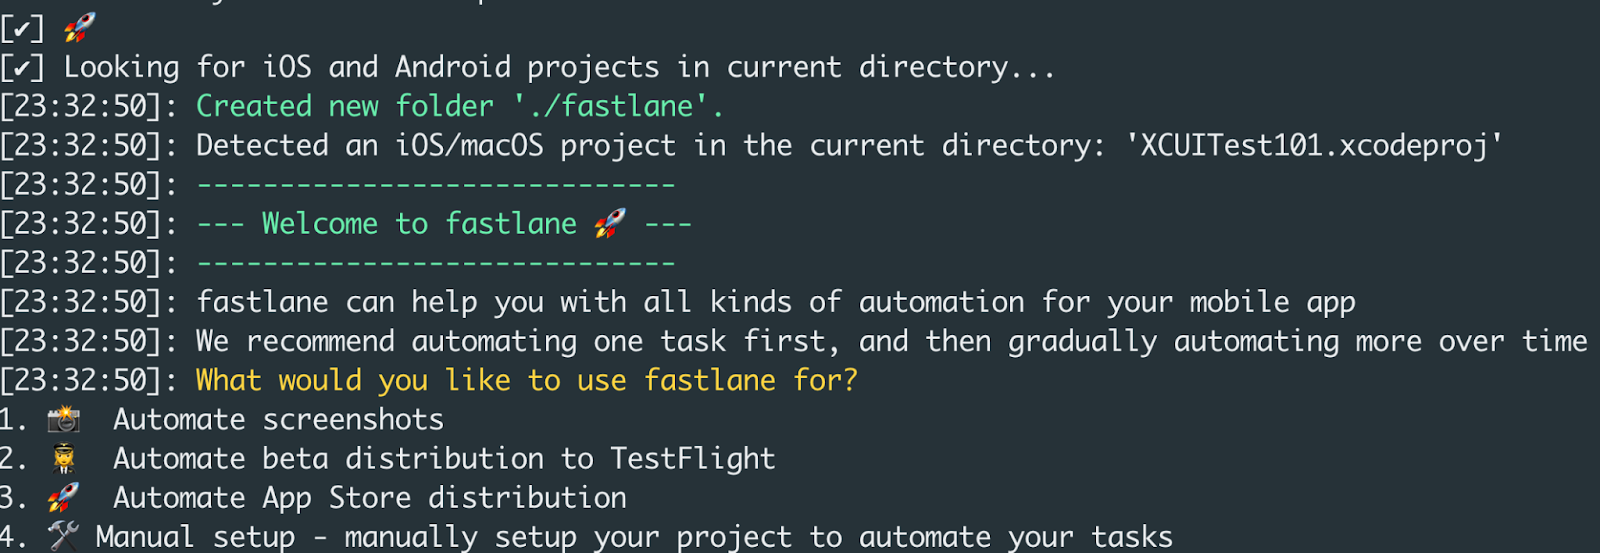
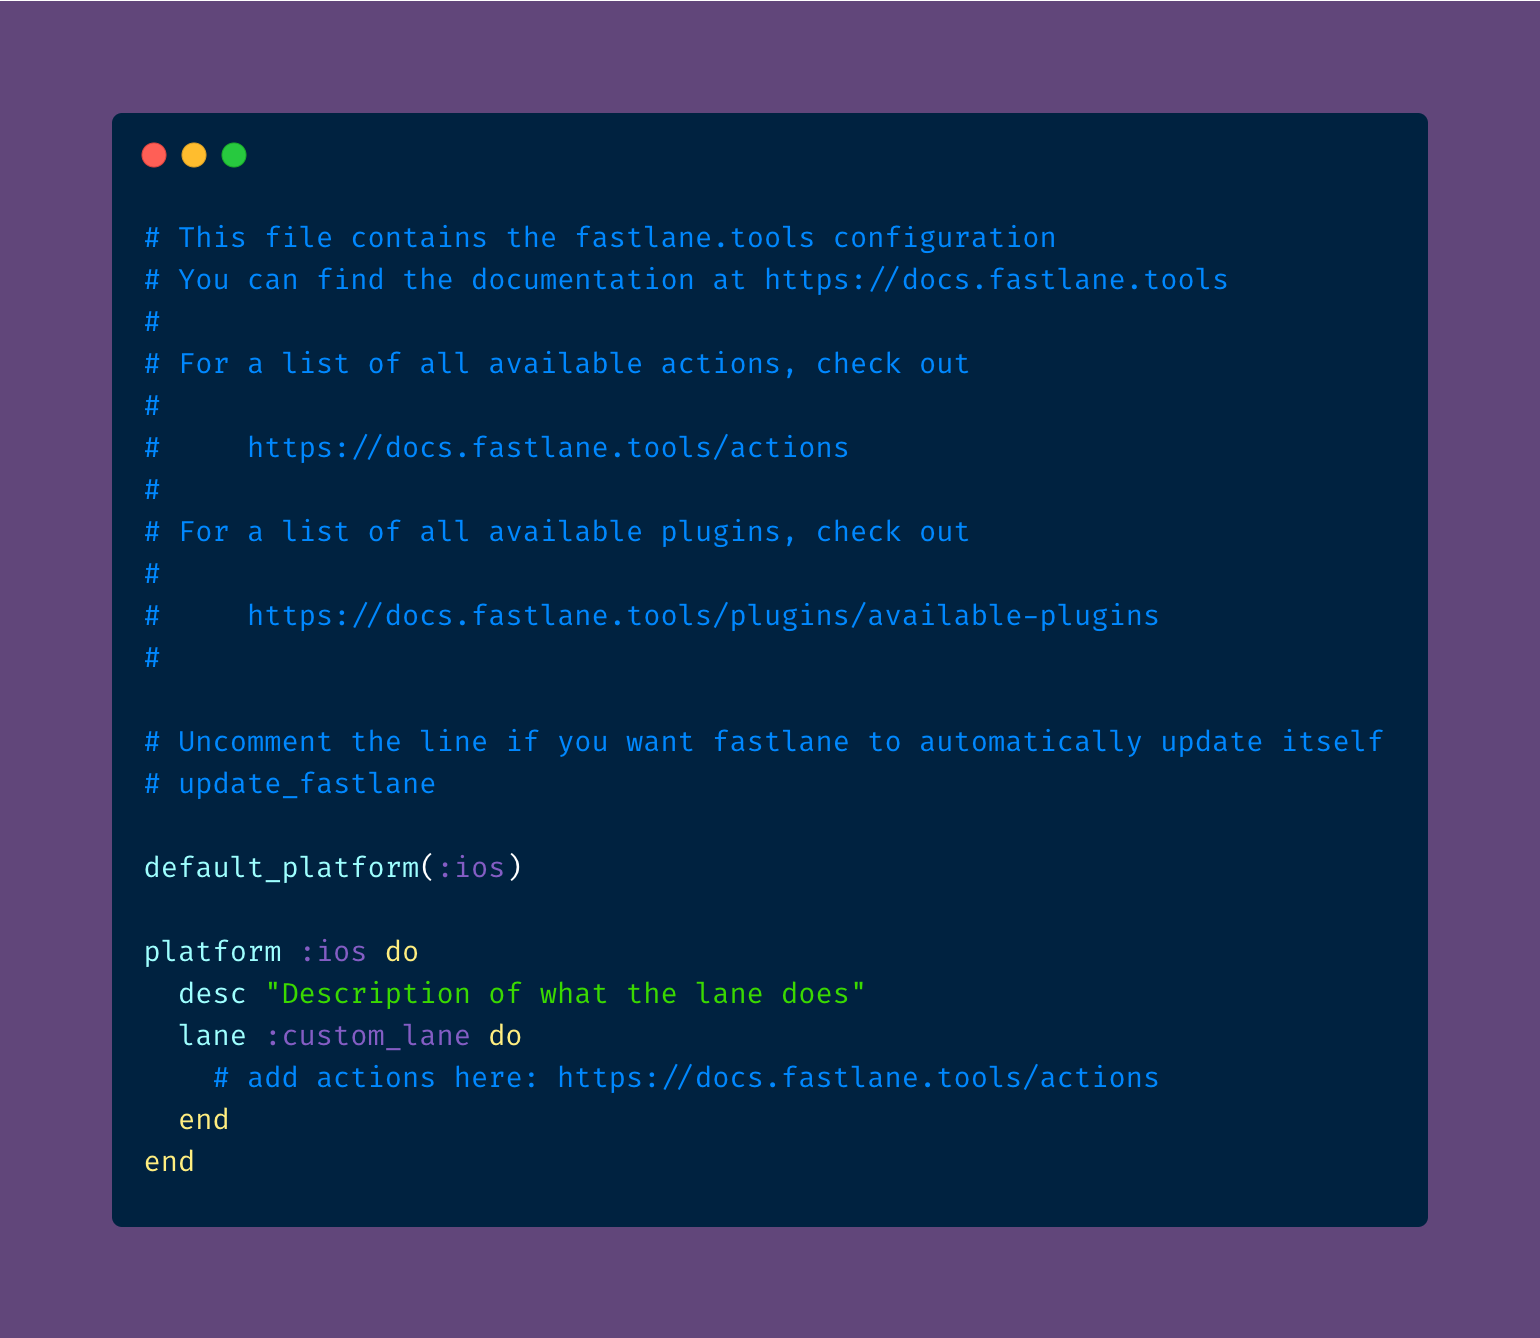
After that, you will have a fastlane folder with a Fastfile in it. You can start adding your lanes for different tasks like running unit tests, UI tests, checking code style, deploying your app, and more.
Add the fastlane plugin into the Fastfile
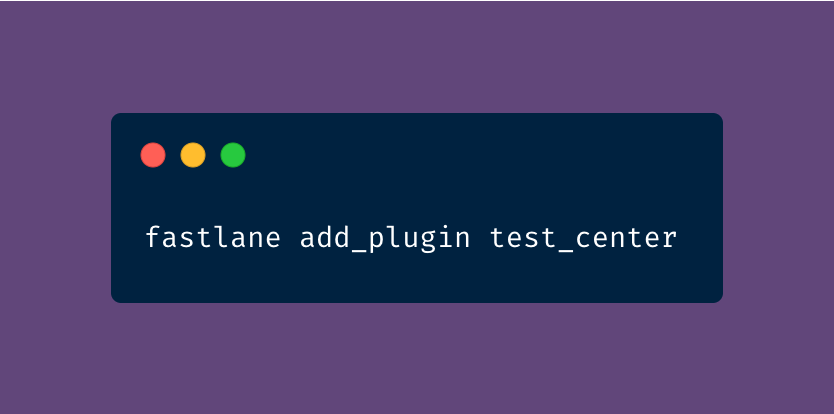
You can add fastlane plugin test_center by running the following command line:
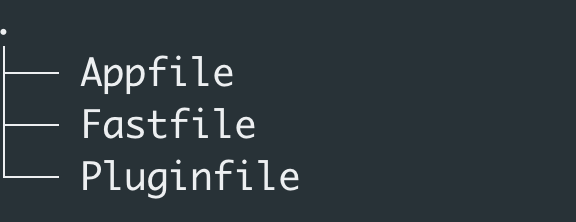
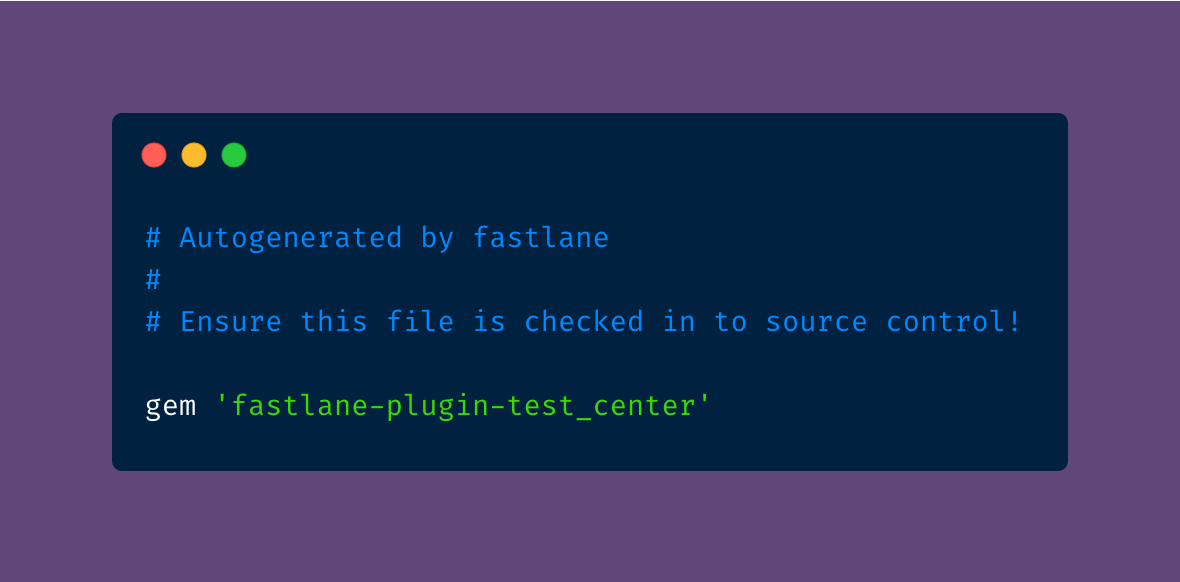
You will notice that a new file will be created inside the fastlane folder called Pluginfile.
In the Gemfile you will find that the Pluginfile path has been added as well. You can add this plugin into the Gemfile.Now, we can use the plugin inside your Fastfile to run iOS UI tests using fastlane in parallel.
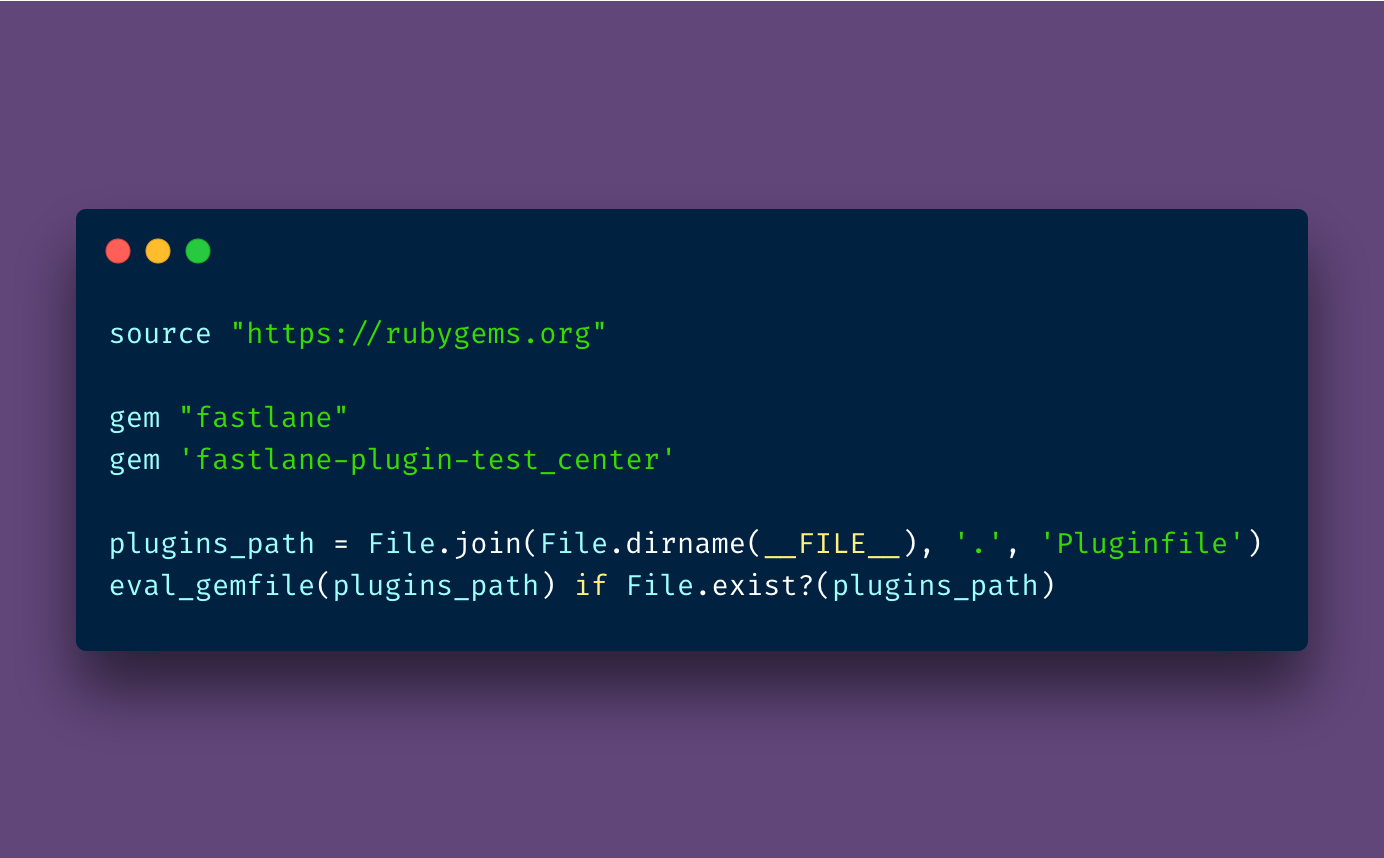
Now, we can use the plugin inside your Fastfile to run iOS UI tests using fastlane in parallel.
test_center Features
This plugin makes testing your iOS app easier by providing you actions that give you greater control over everything related to testing your app.
multi_scan is one of the most popular actions of the test_center plugin to run your tests in parallel with multiple retries. They will finish faster and only the truly failing tests will be reported as failing.
Running iOS UI Tests Locally
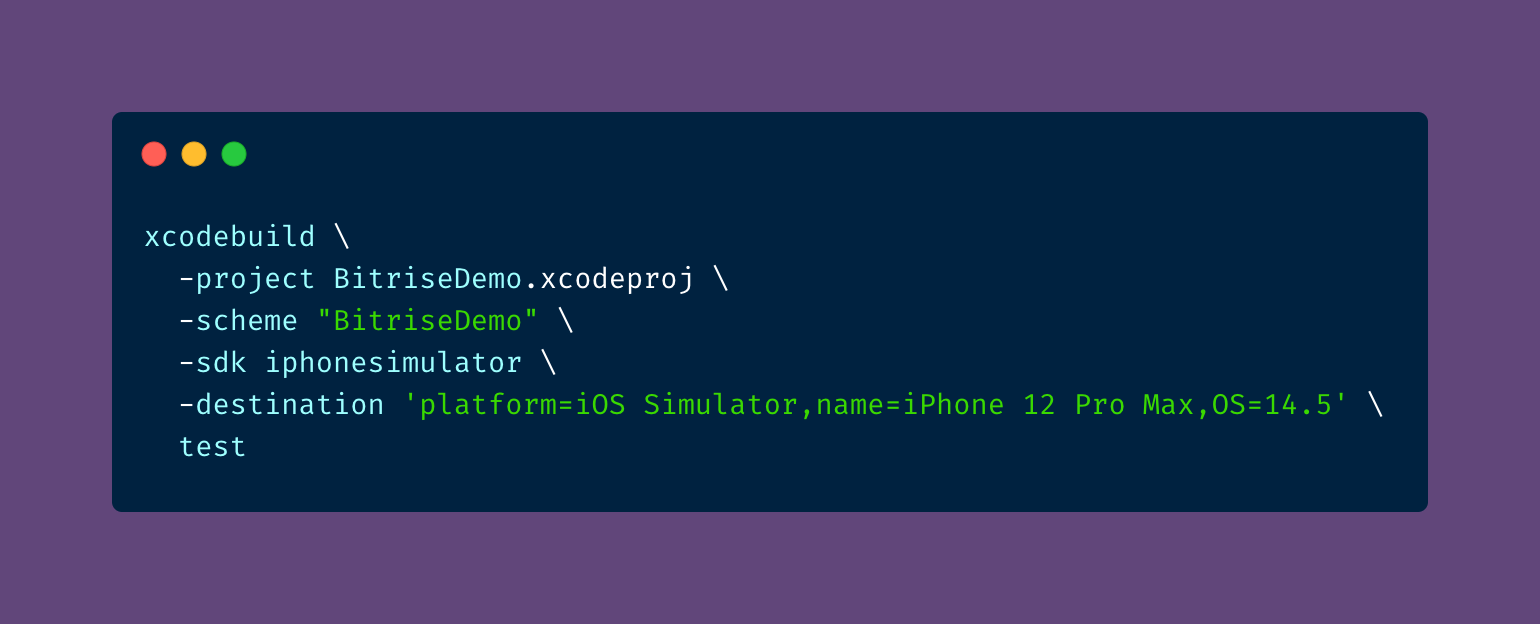
Without fastlane, If we need to build the app and run the UI tests from the command line we should use the following command:
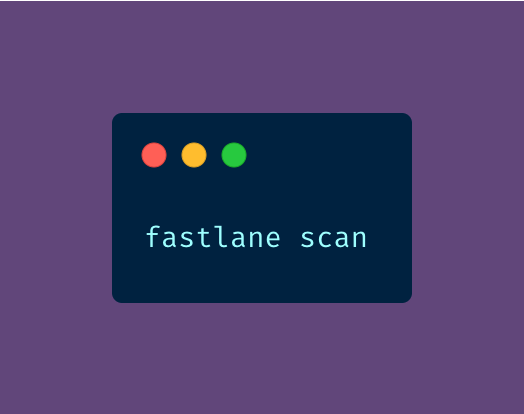
But with fastlane, we can use the scan action, by running the following command:
Or add a new lane in the fastlane file like the following:

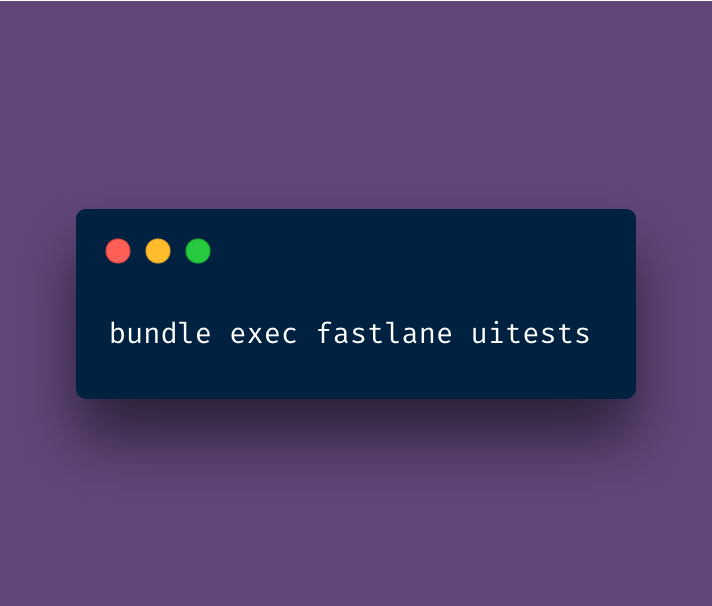
Then you can run the following command:
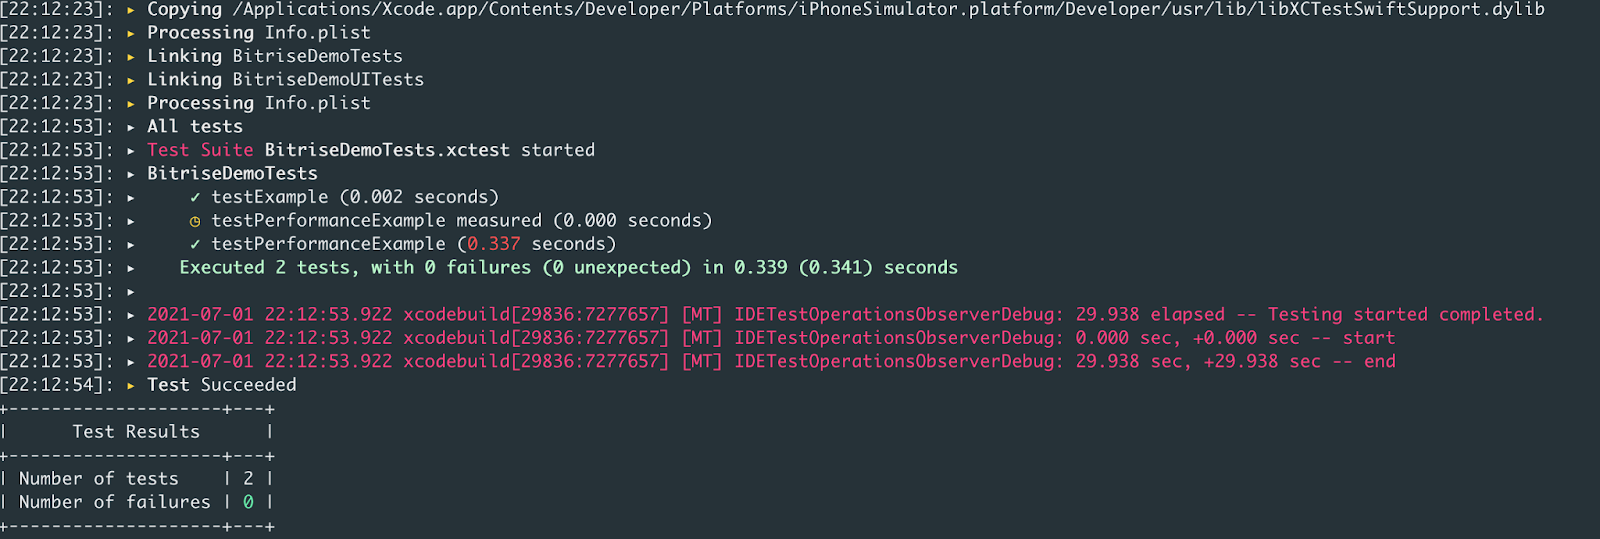
And the output results will look like this:
You can also find the test results in the test_output folder inside the fastlane folder.

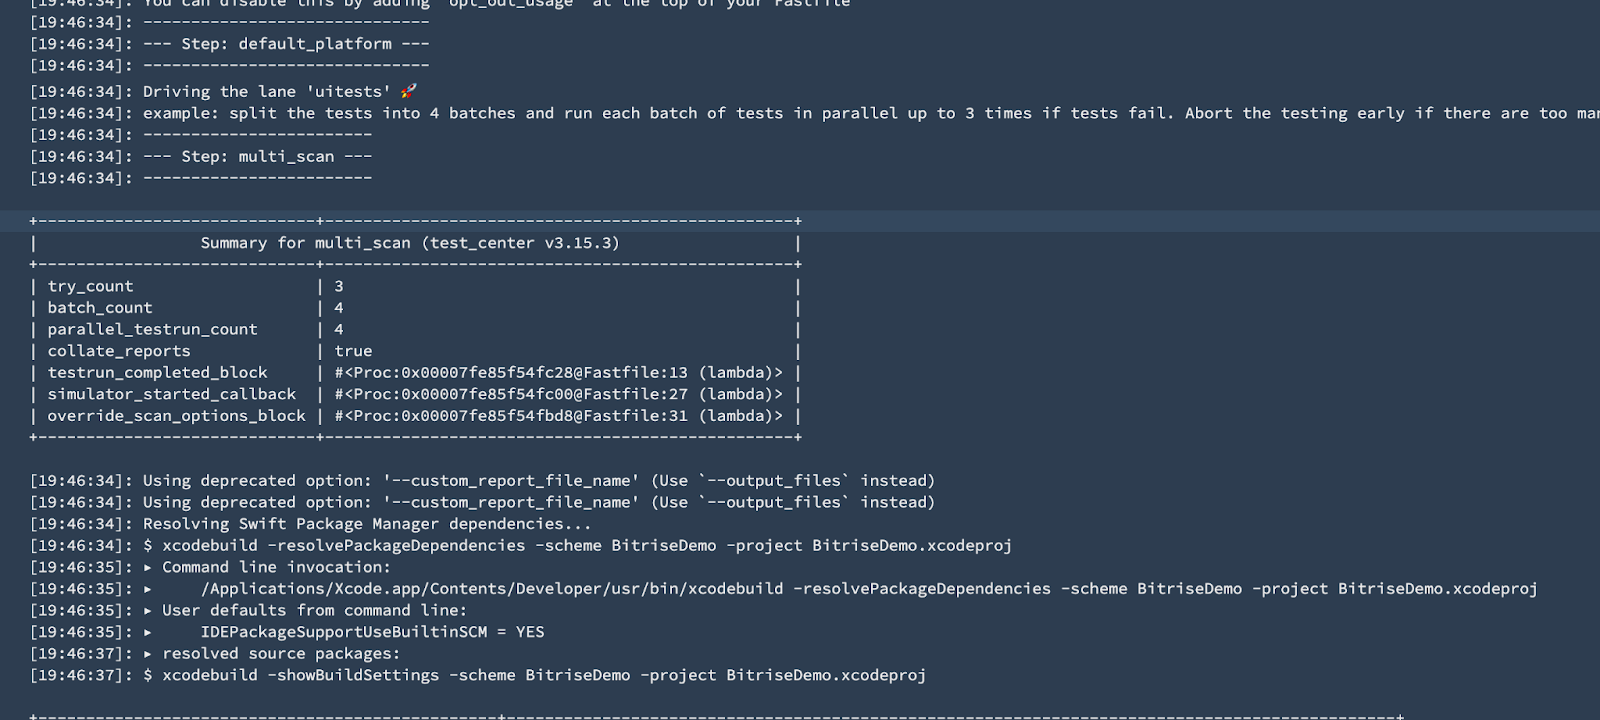
And now we can replace scan with multiscan in our lane to start using the plugin by the following code:
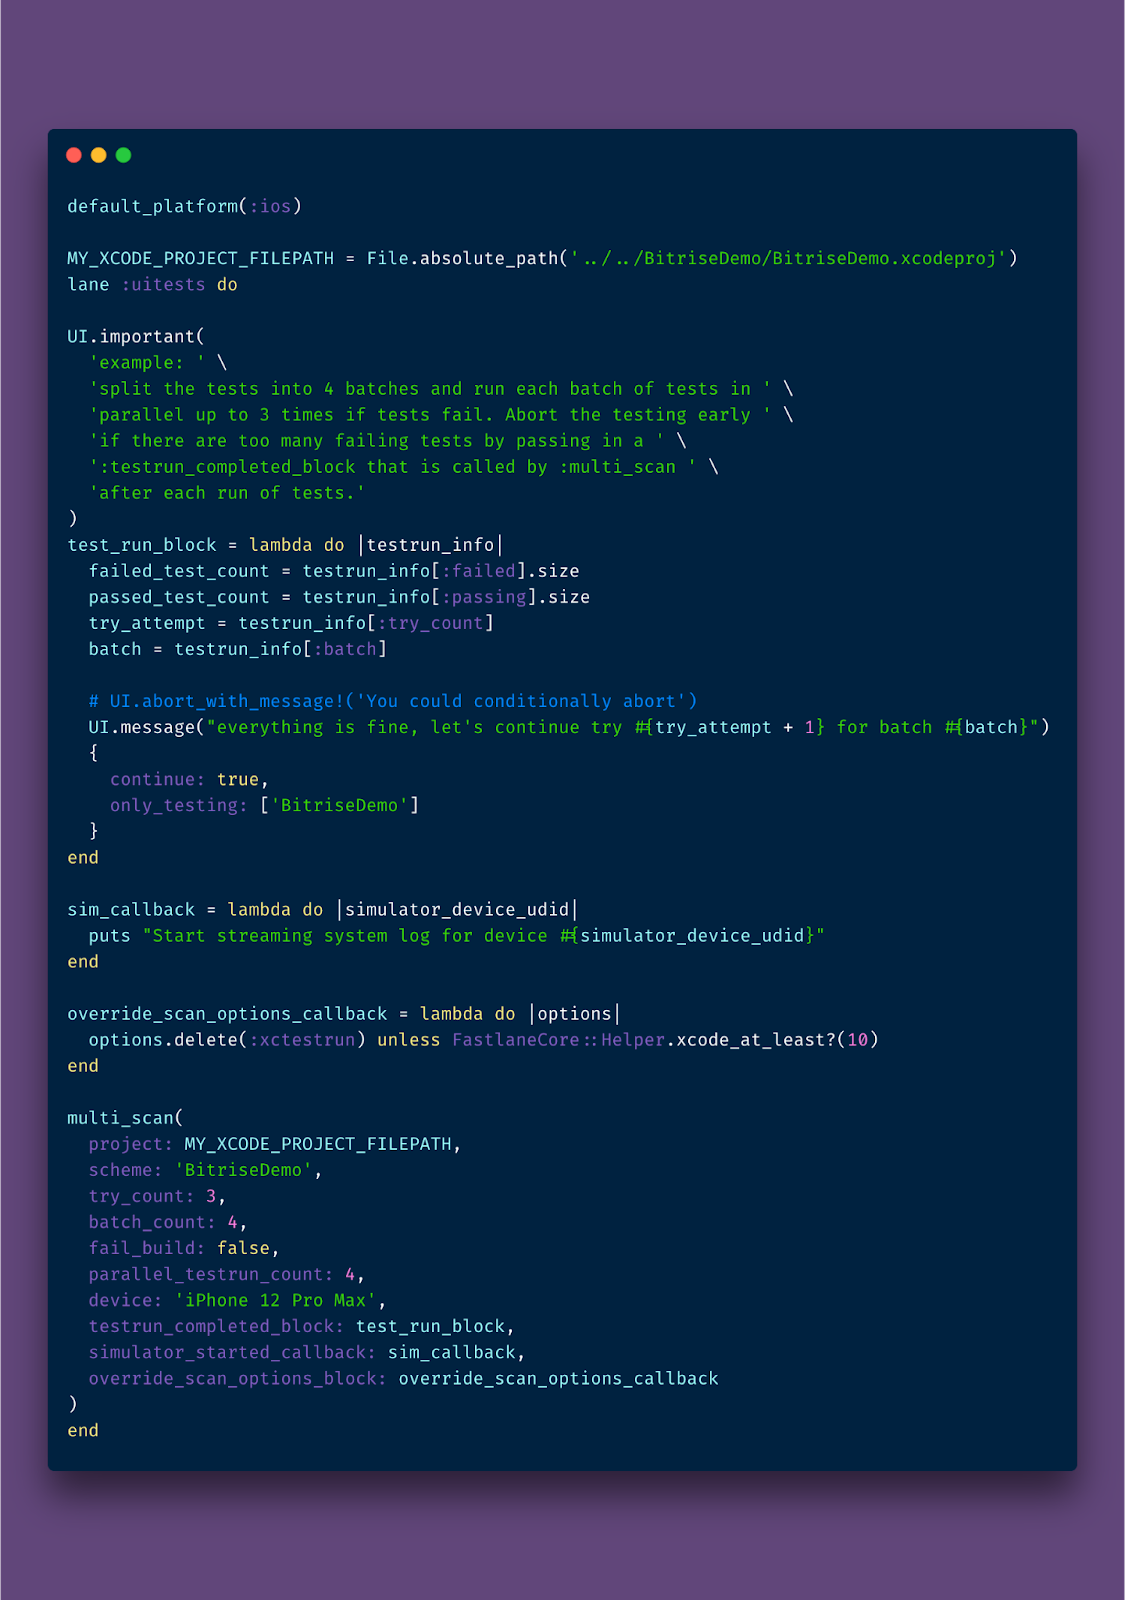
In the above lane, we split the tests into 4 batches, run each batch of tests in parallel up to 3 times if tests fail, and abort the testing early if there are too many failing tests.
And when run the following command again:
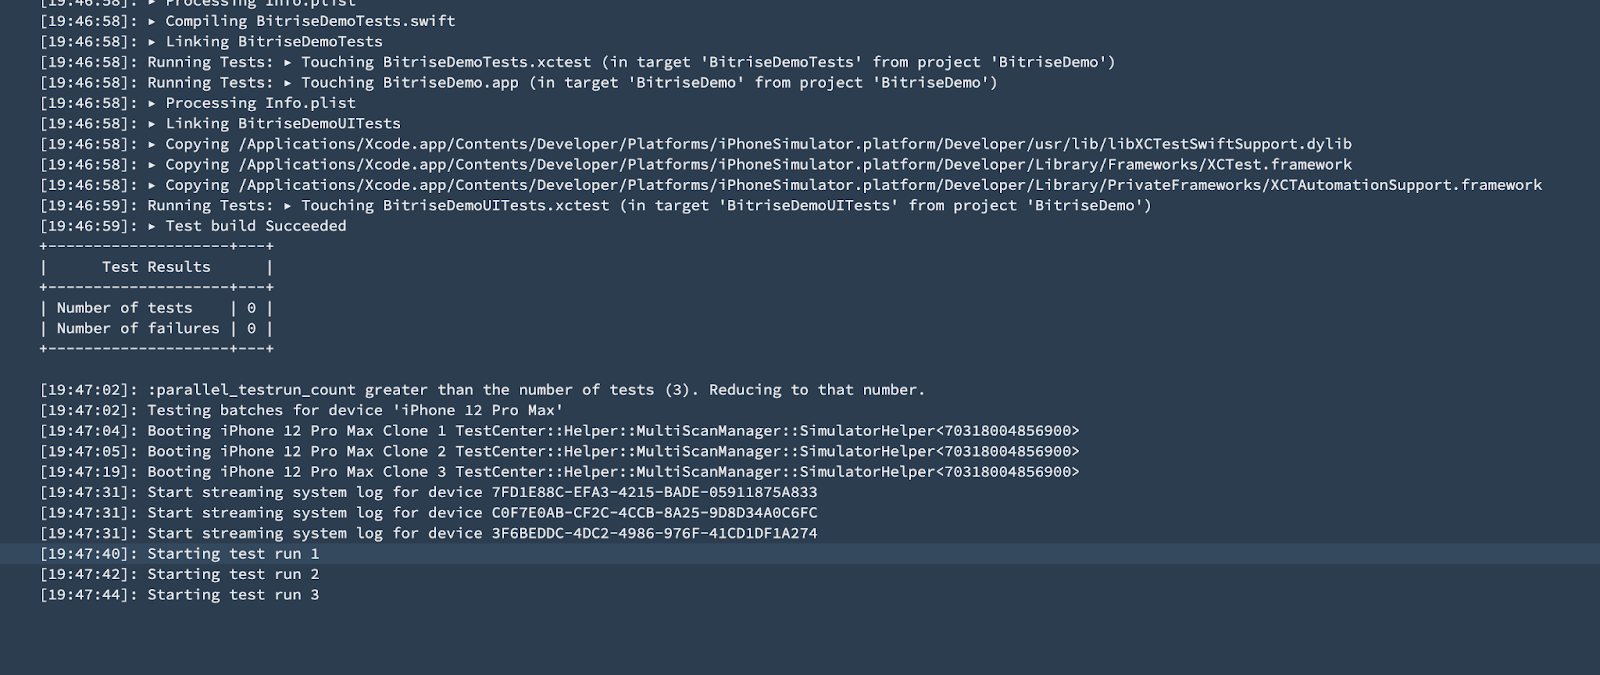
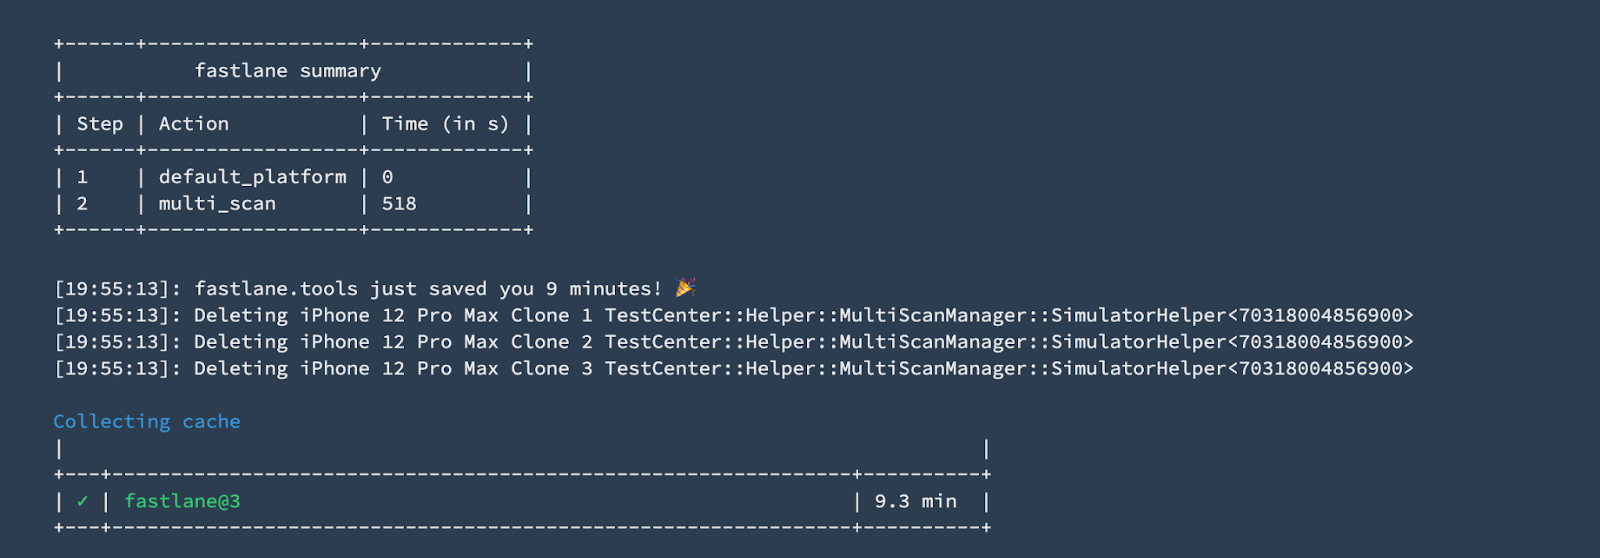
And the multiscan will start building the app and run the tests in parallel on 3 iOS simulators (iPhone 12 Pro Max) as configured in the lane or you can change it as you like.
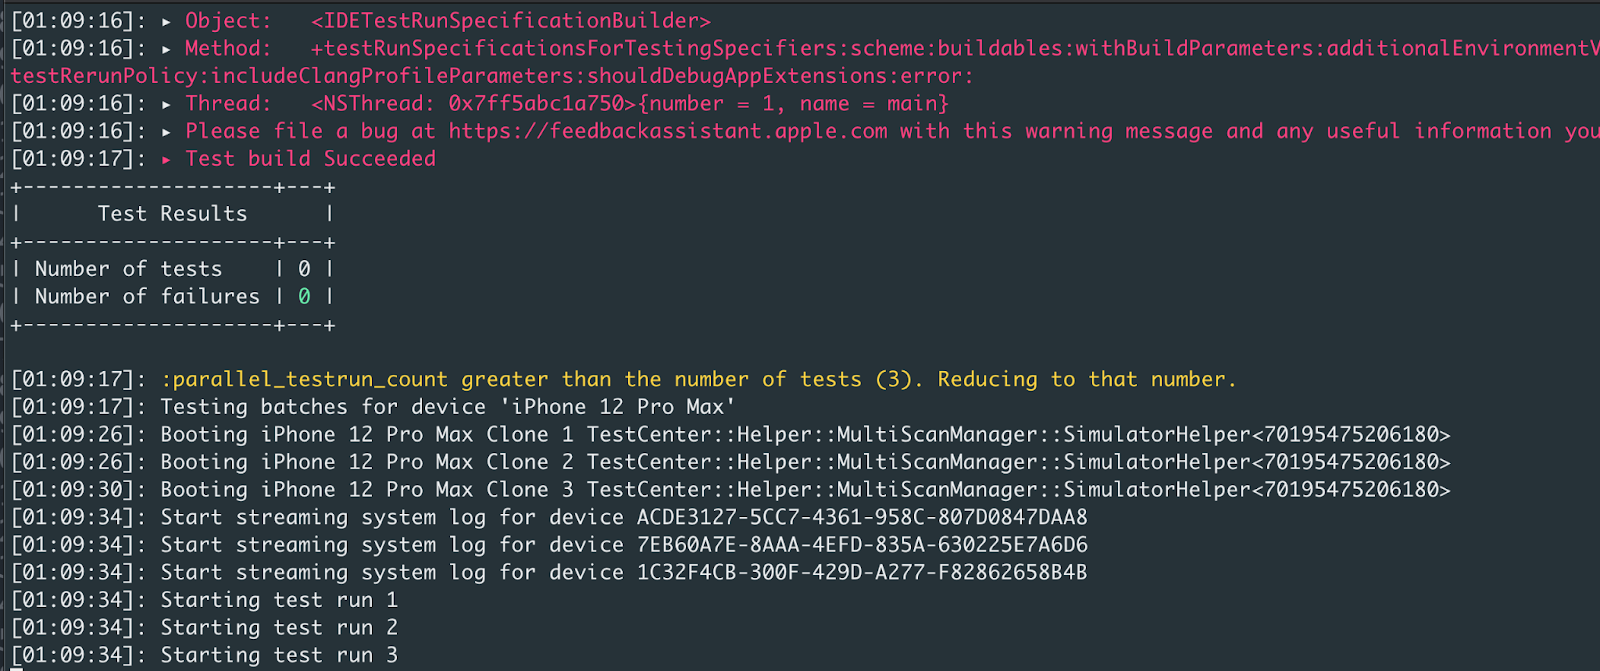
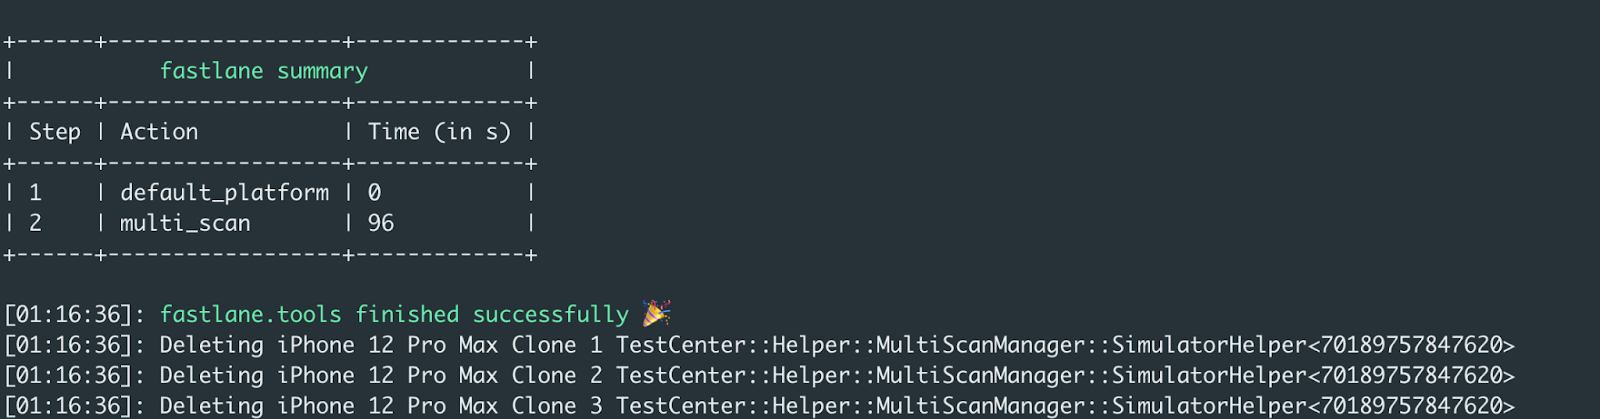
We will wait until the command finishes the tests and the test output will look like the following images:

Note: You will notice during the tests that the simulators are running in a headless mode to increase the stability of tests and to be faster.
In the multiscan results, we will have 2 different reports, because we were running on different simulators. But there are different parameters to collate or combine the reports into one single report.
Running iOS UI Tests with Bitrise CI
Before we start running our tests on Bitrise, don’t forget to commit the Gemfile and fastlane folder to your repository on GitHub or any other source code management system.
Now it’s time to speed up your CI/CD pipeline with easy setup and less effort. Let’s get started by migrating our iOS app from Jenkins and fastlane to Bitrise:
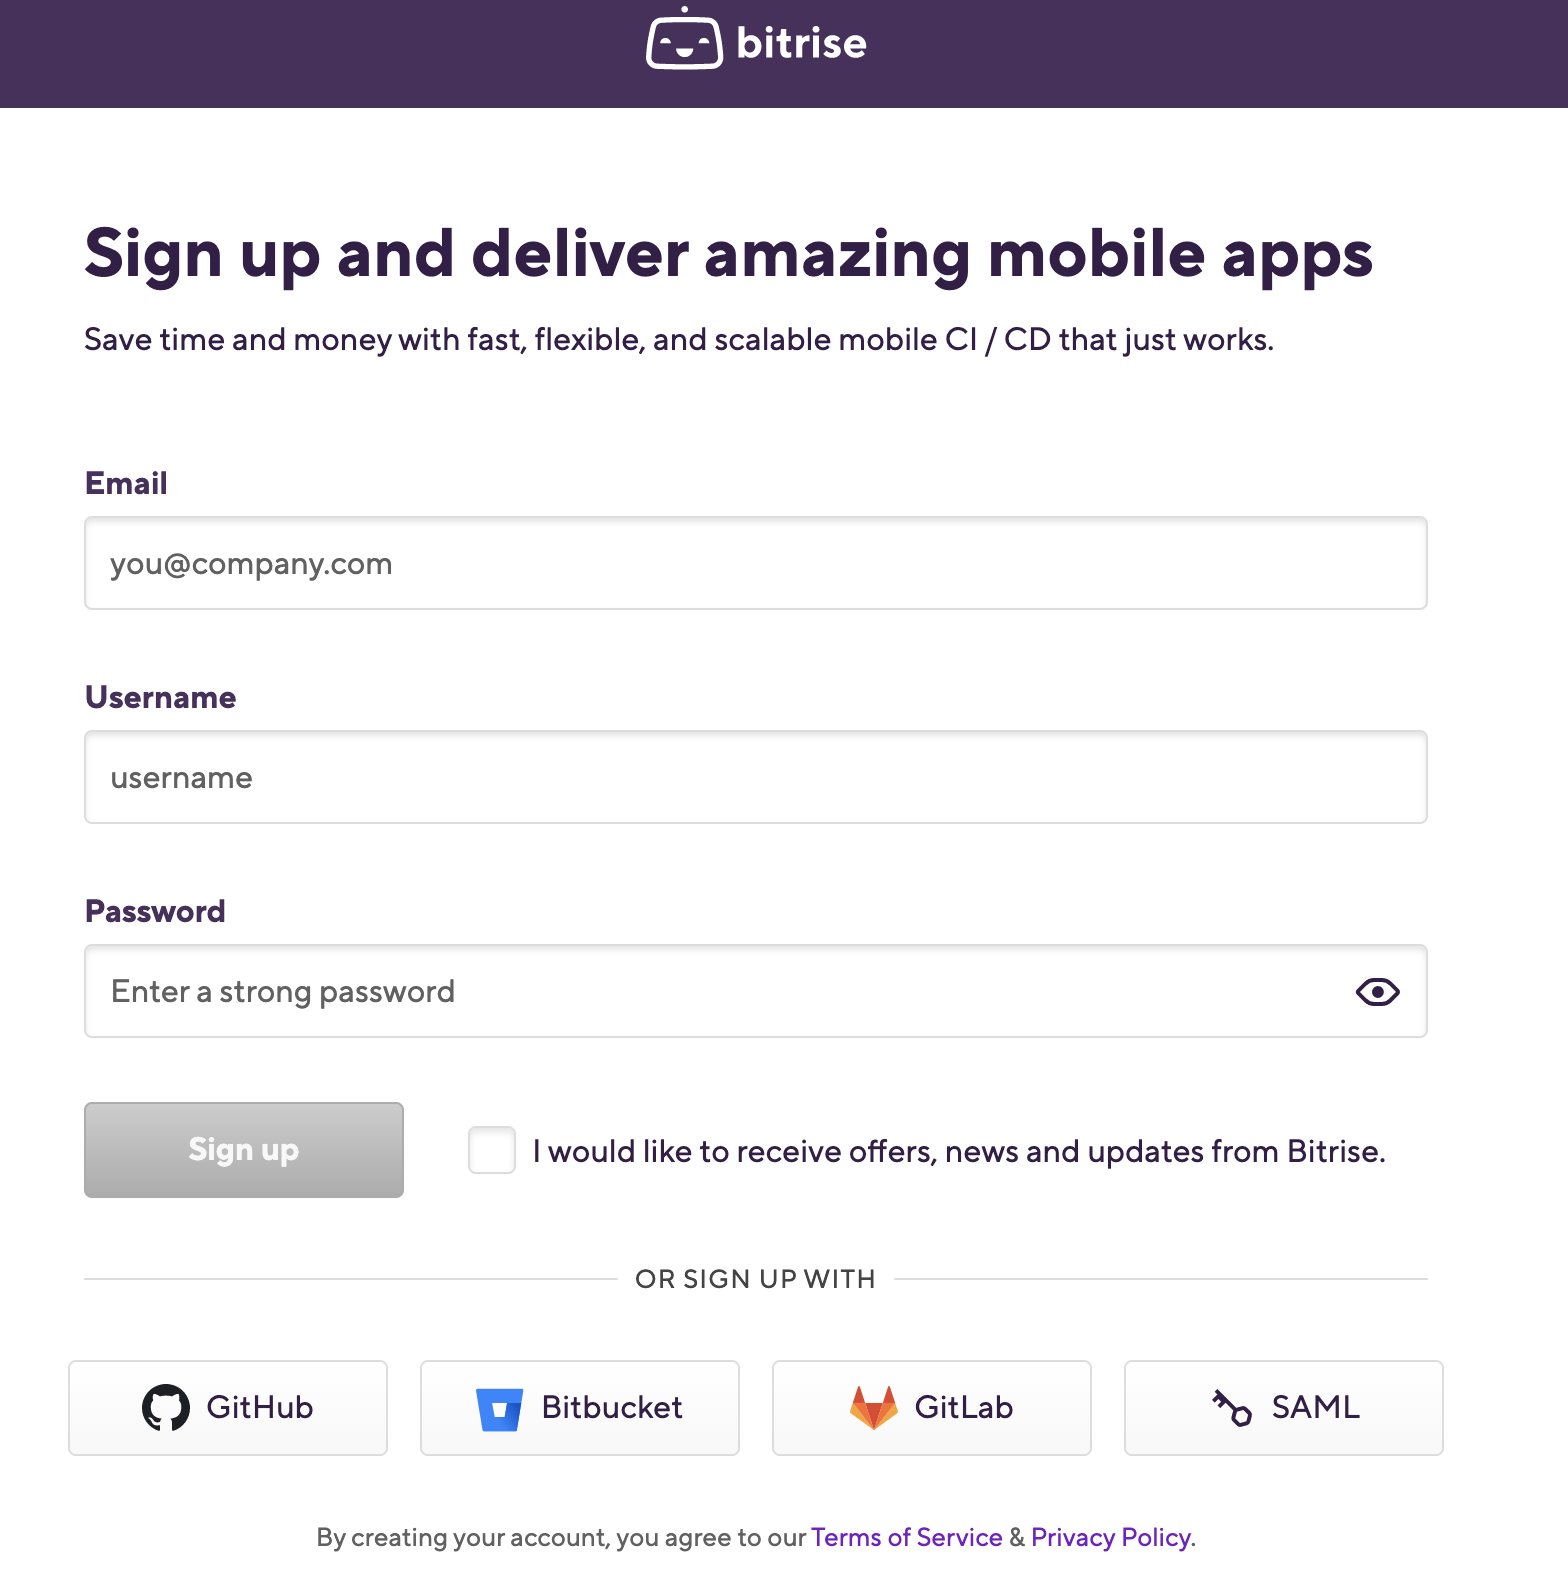
1. First, you need to create a new free account from the Bitrise website, you can use your email or any other account you prefer as displayed in the following screenshot.
2. After logging in, you will have a blank dashboard and you can start adding your projects.
3. Click on Add your first app button.
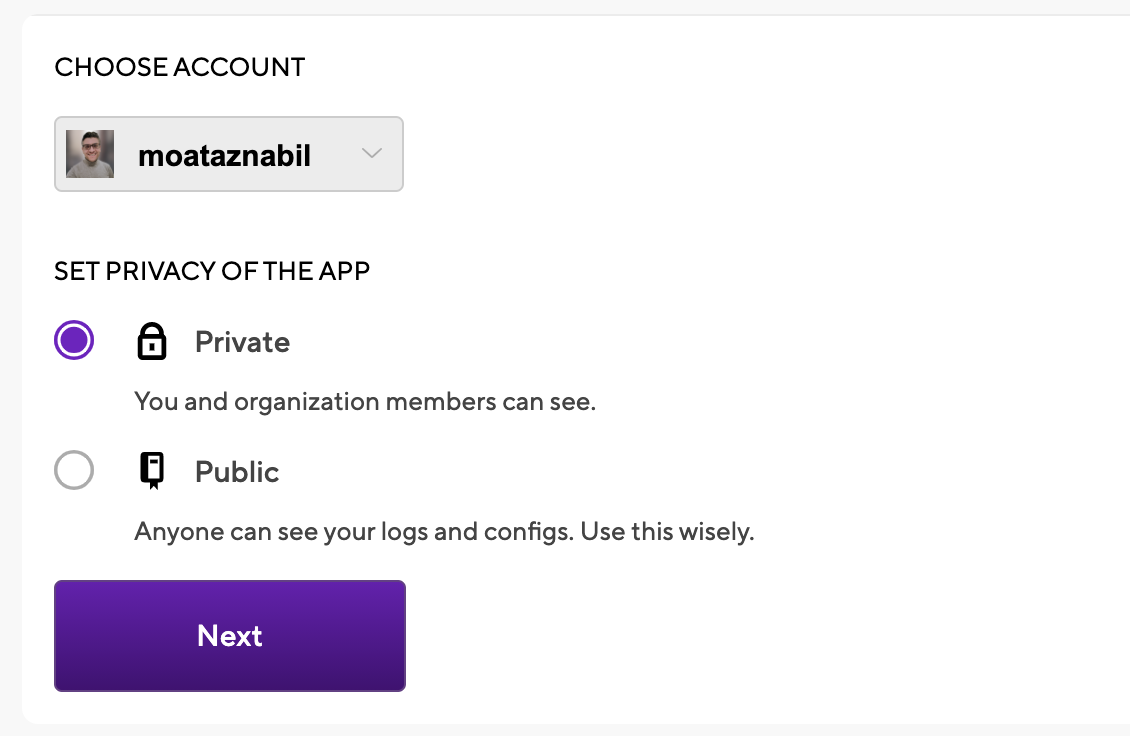
4. Select your account and set the privacy for the App (Private or Public) and click Next.
5. Choose the Repository but before that, you have to give Bitrise access rights to your source code provider. (ex: Bitbucket)
6. You need to set up the repository access, so you can click on the auto-add SSH key or add your SSH key.

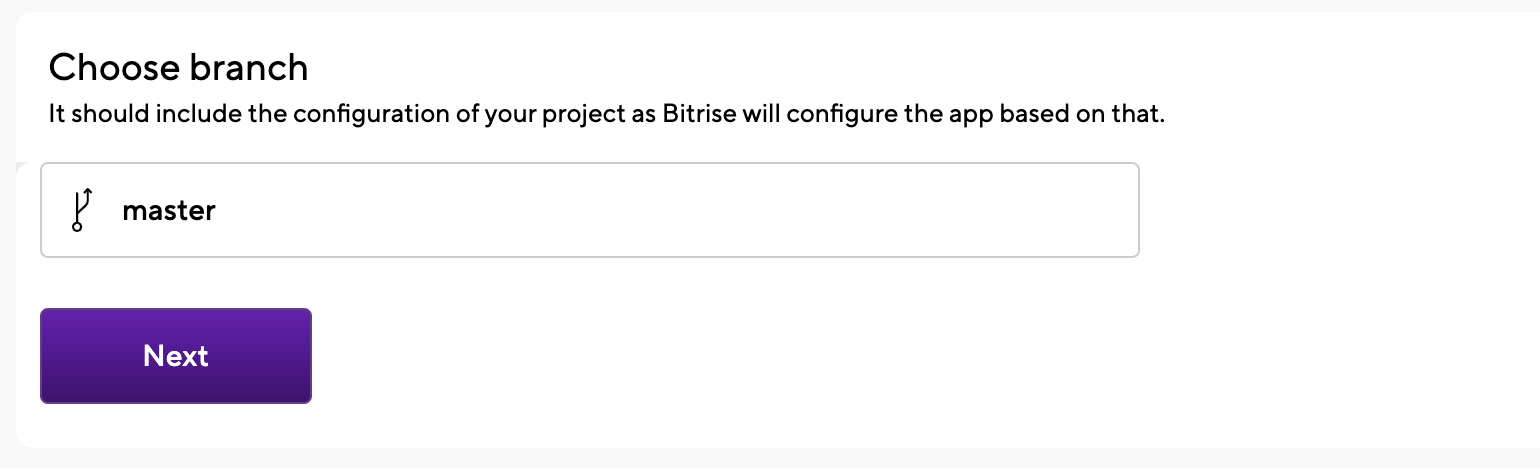
7. Choose Branch name (ex: master or main branch) and click Next.
8. Once you clicked next, Bitrise will run a validation with your repository and configuration with the scanner step to recommend you the suitable machine type and stack

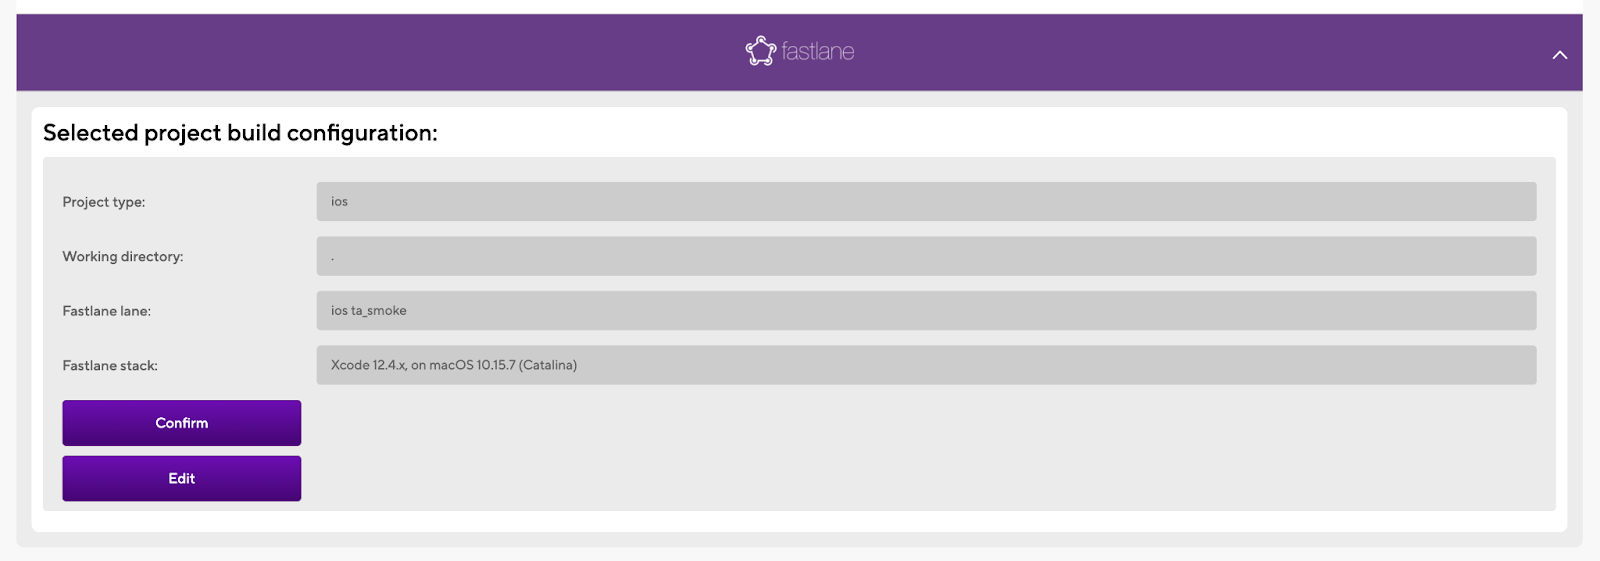
9. After validating, the project build configuration will display successfully (ex: iOS App). Since we have fastlane files in our repository, the scanner detected that and suggested choosing between a normal iOS app or fastlane.

Click on fastlane and you’ll have the project build configuration to review the stack. You can also change the lane name from the Fastfile if needed.
TIP
Bitrise supports the latest Xcode versions within 48 hours after Apple’s announcement, to give mobile engineers the opportunity to update their apps and use new features with the latest SDKs for iOS, iPad, watchOS, and the latest OS like macOS Big Sur. For more info check this blog post.
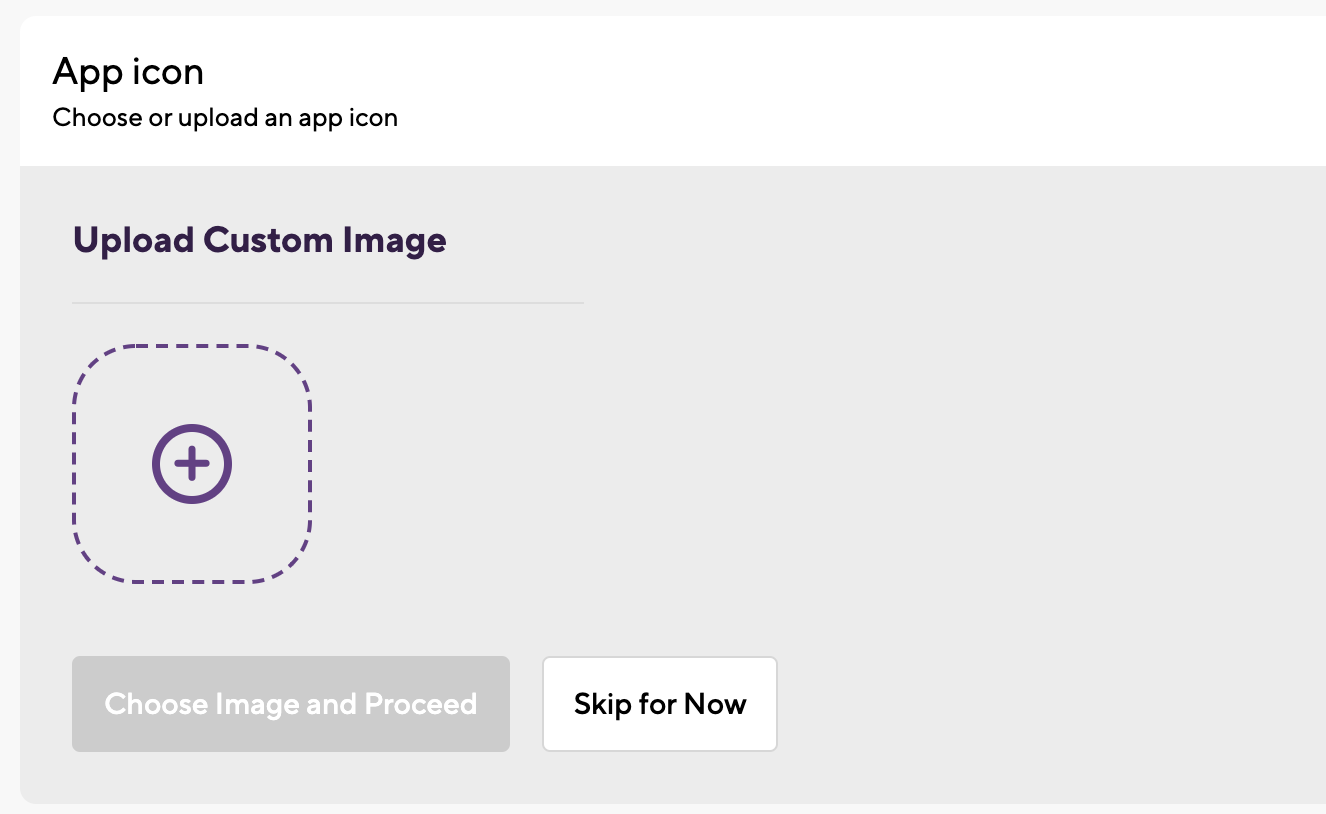
10. Click the confirm button after reviewing the Workflow stack. You can add the App icon as well, or you can skip it for now.
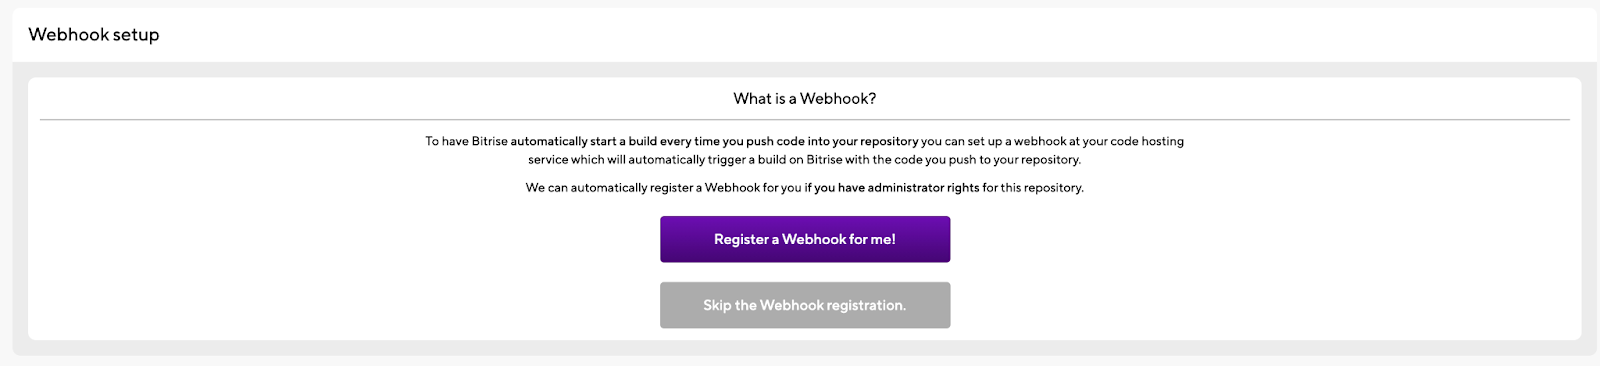
11. The final step is Webhook setup: you just need to click on Register a Webhook for me! Button and you will trigger your first iOS build for your project 🚀 🎉

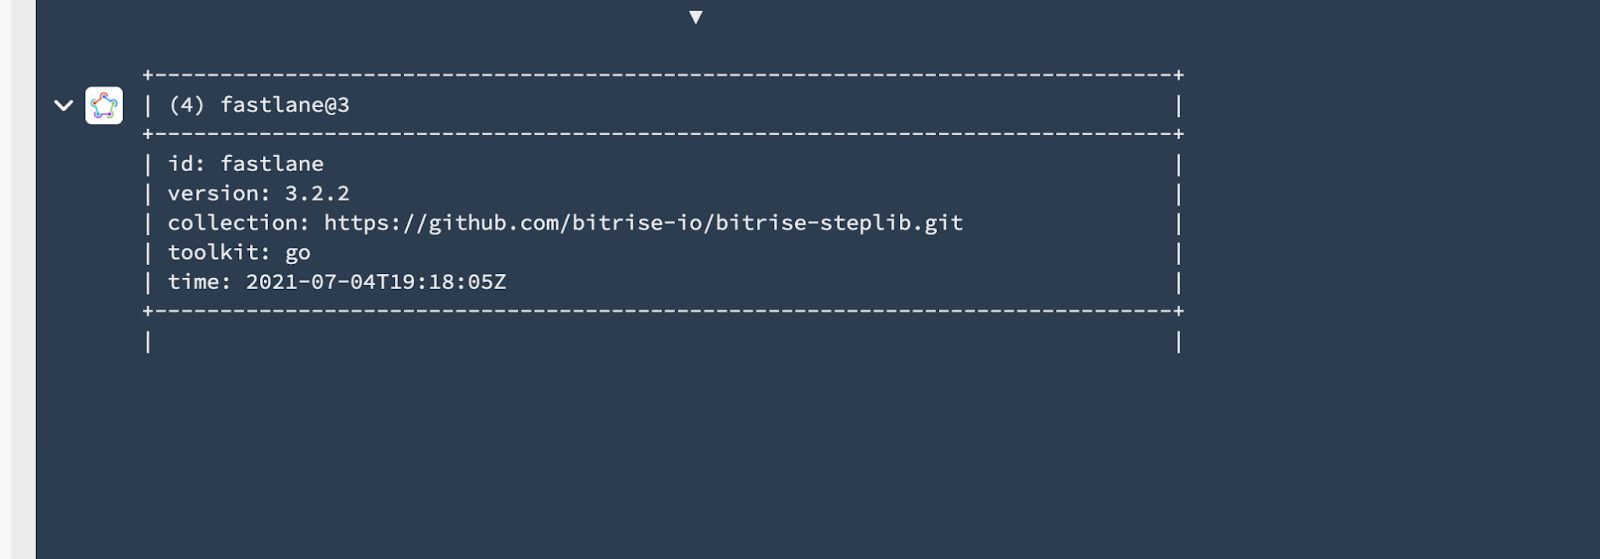
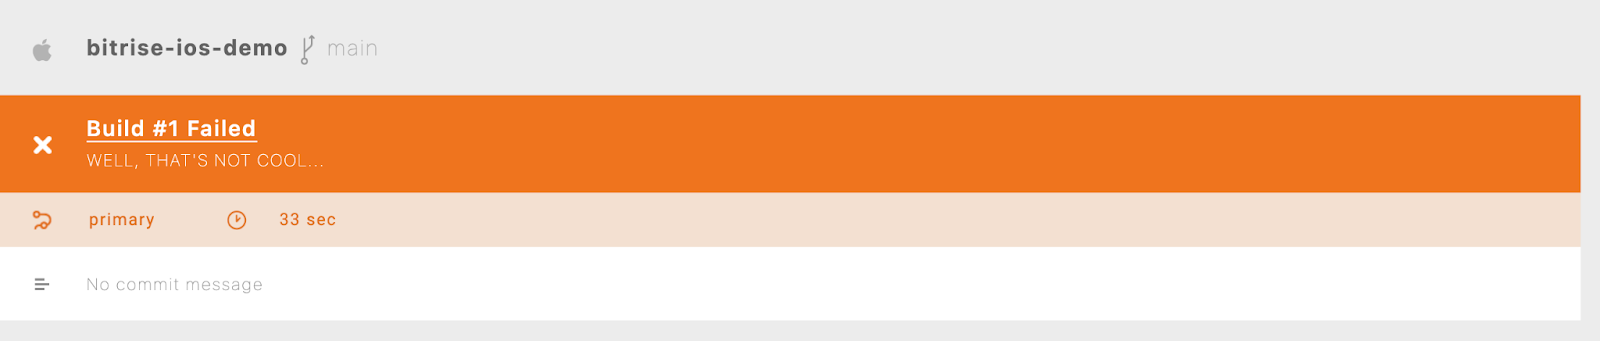
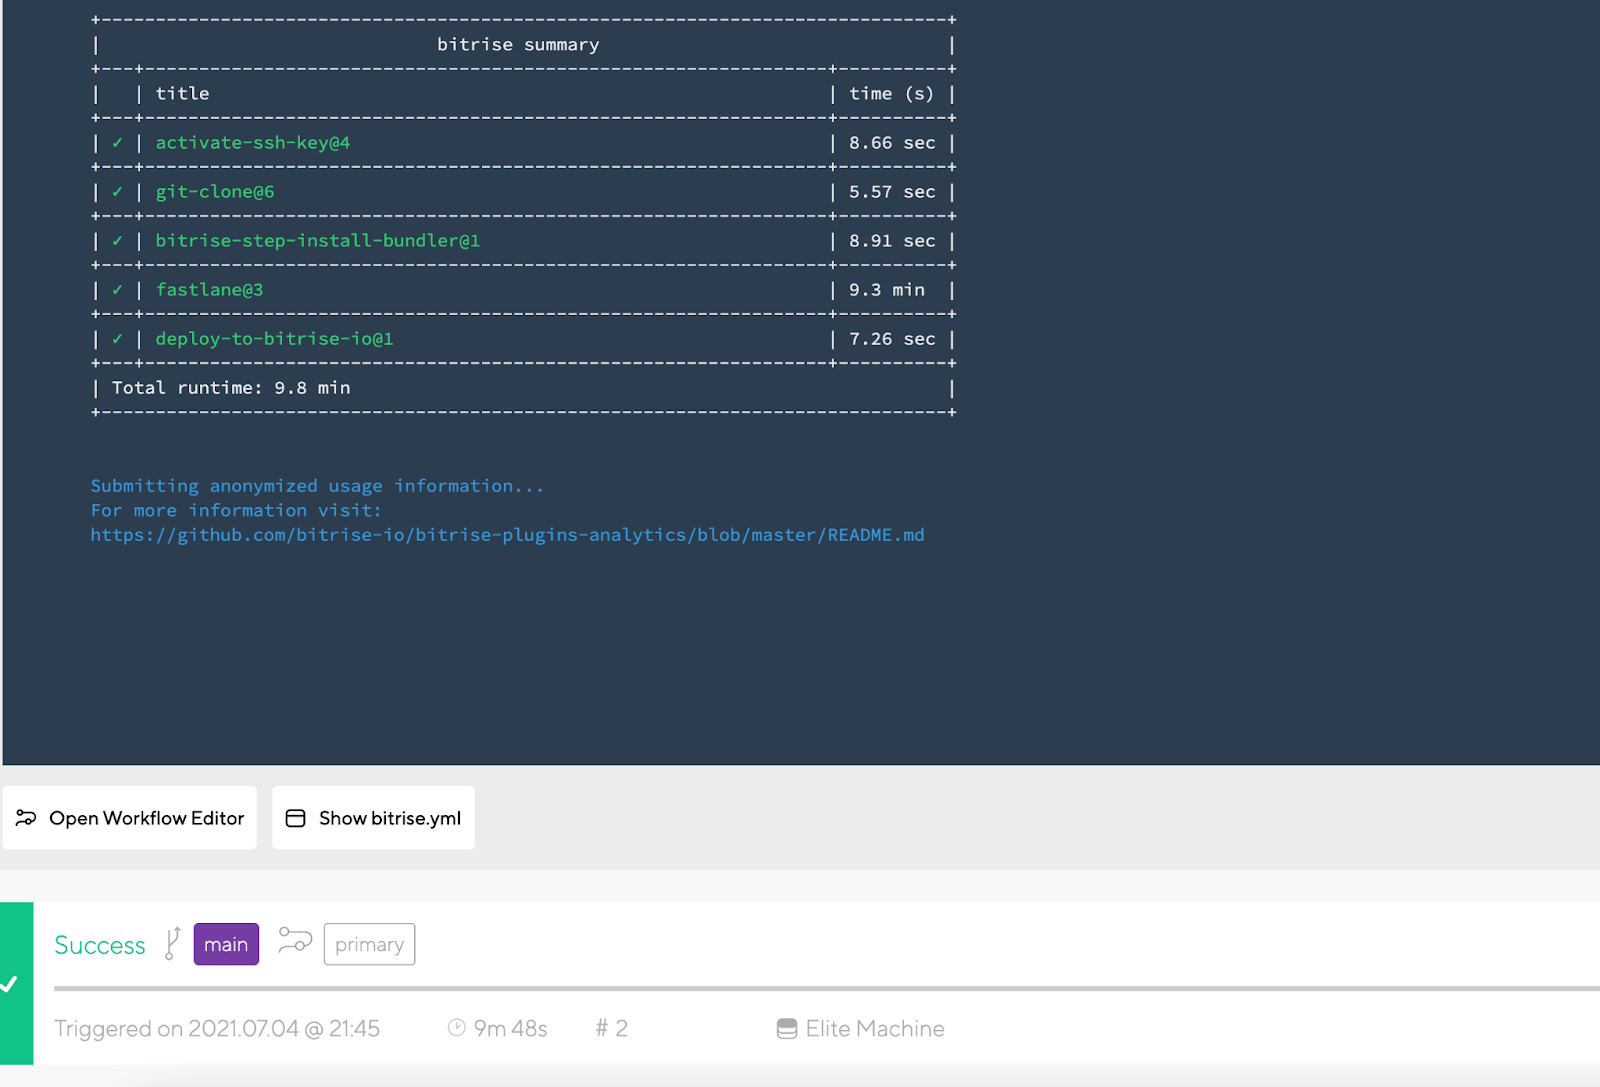
12. You will be redirected to the build log and you can check the Steps and the build status.
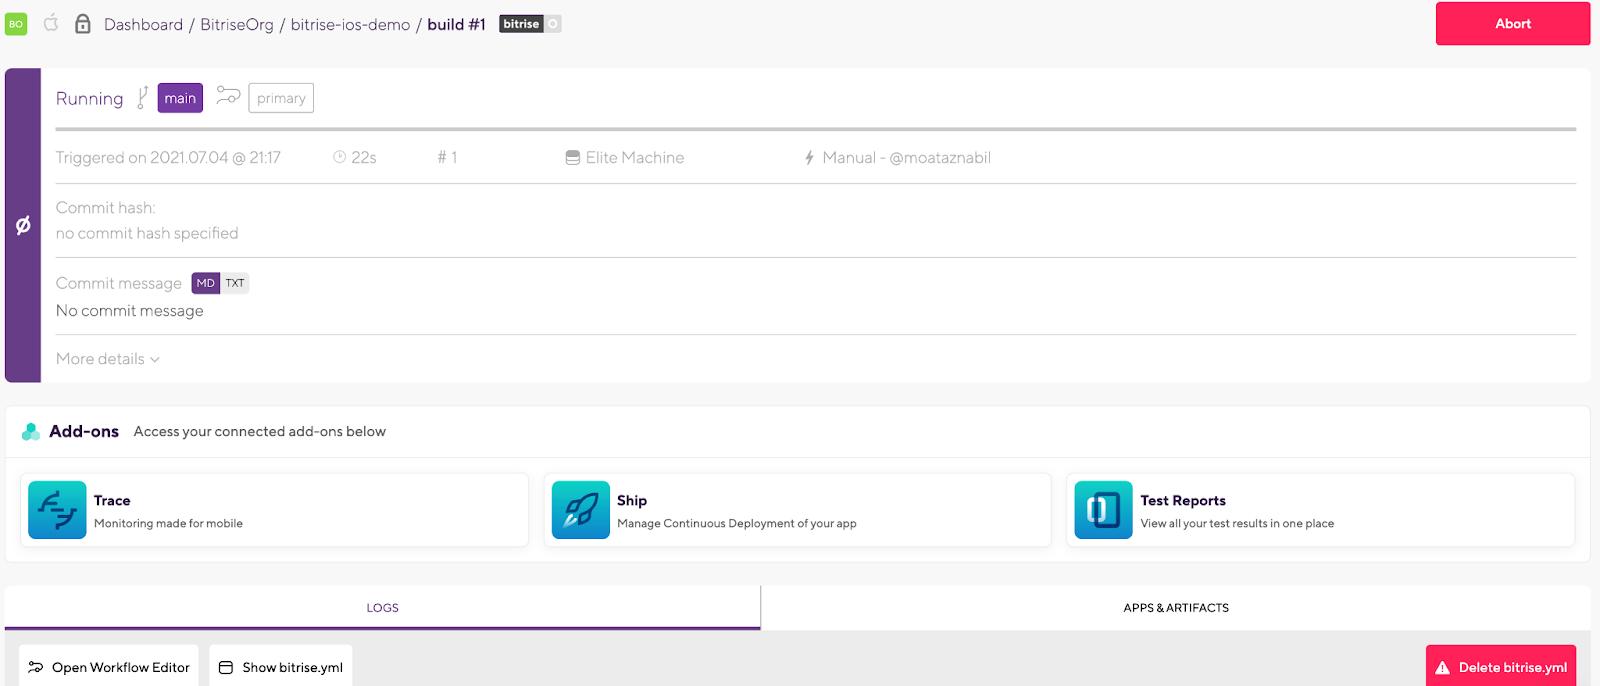
13. At the end, you will find a summary of all the tasks that you run during the build with the time and Step’s name. You can also download logs or check the apps and artifacts.
NOTE:
The first build might fail because of this error:
Could not configure Apple Service authentication: 2FA session saved in Bitrise Developer Connection is expired
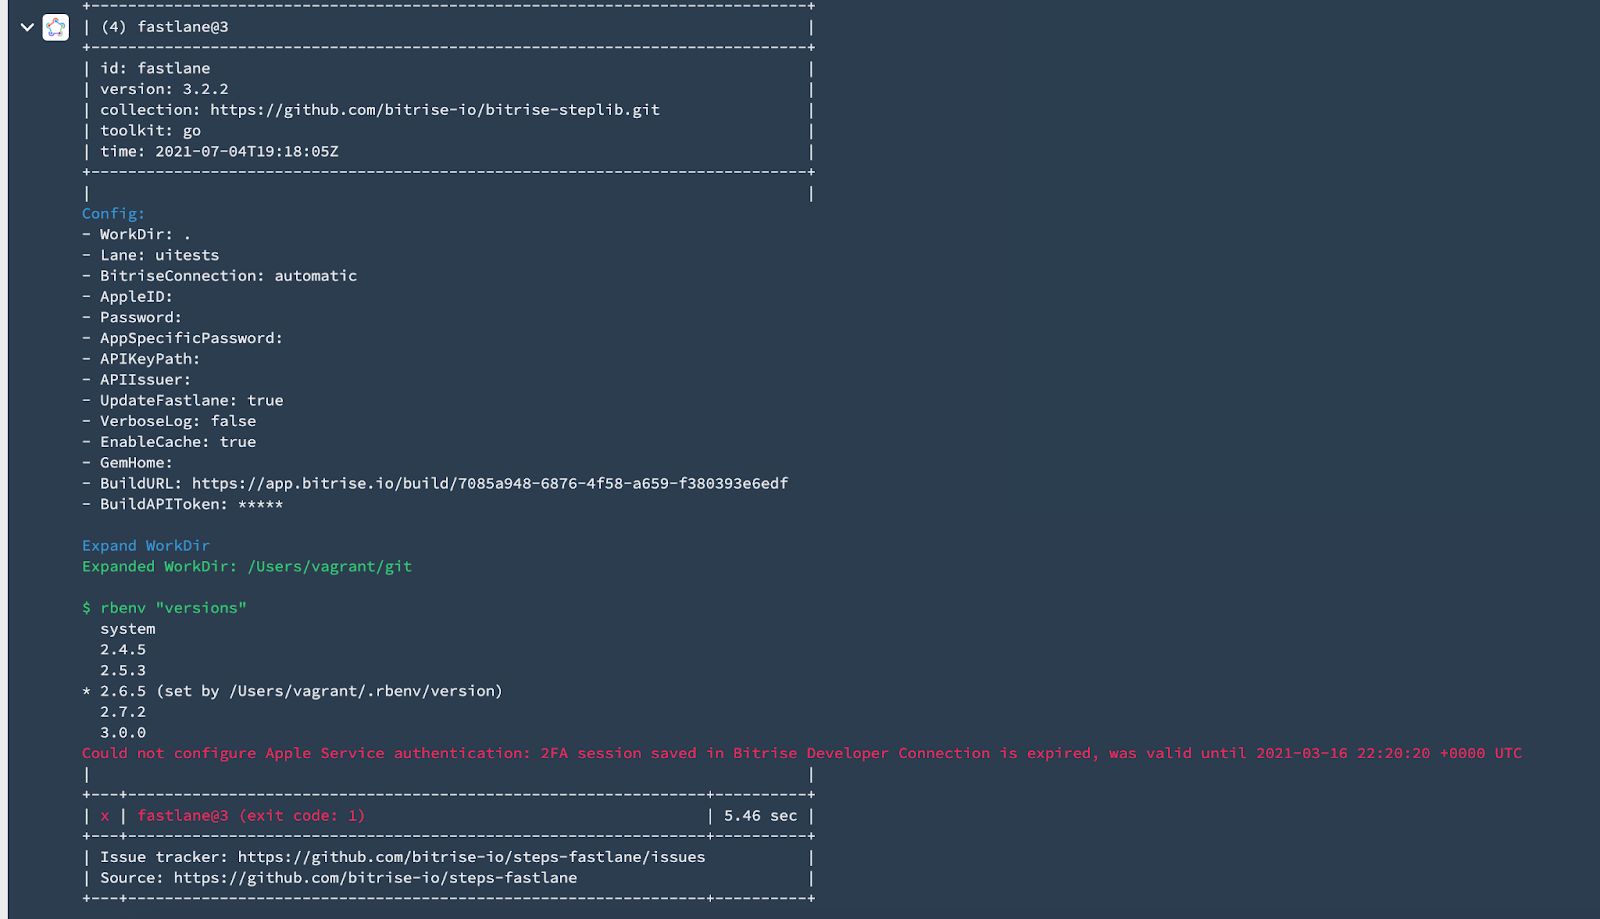
Don’t worry, you can fix this error by configuring your developer account or change as you’ll see in the next step.
You will also receive an email notification about the build status.
NOTE: As you may have noticed, we didn’t need to configure or install any prerequisites related to the infrastructure or the stack because Bitrise is managing all of these things instead of us. For example fastlane, or Git.
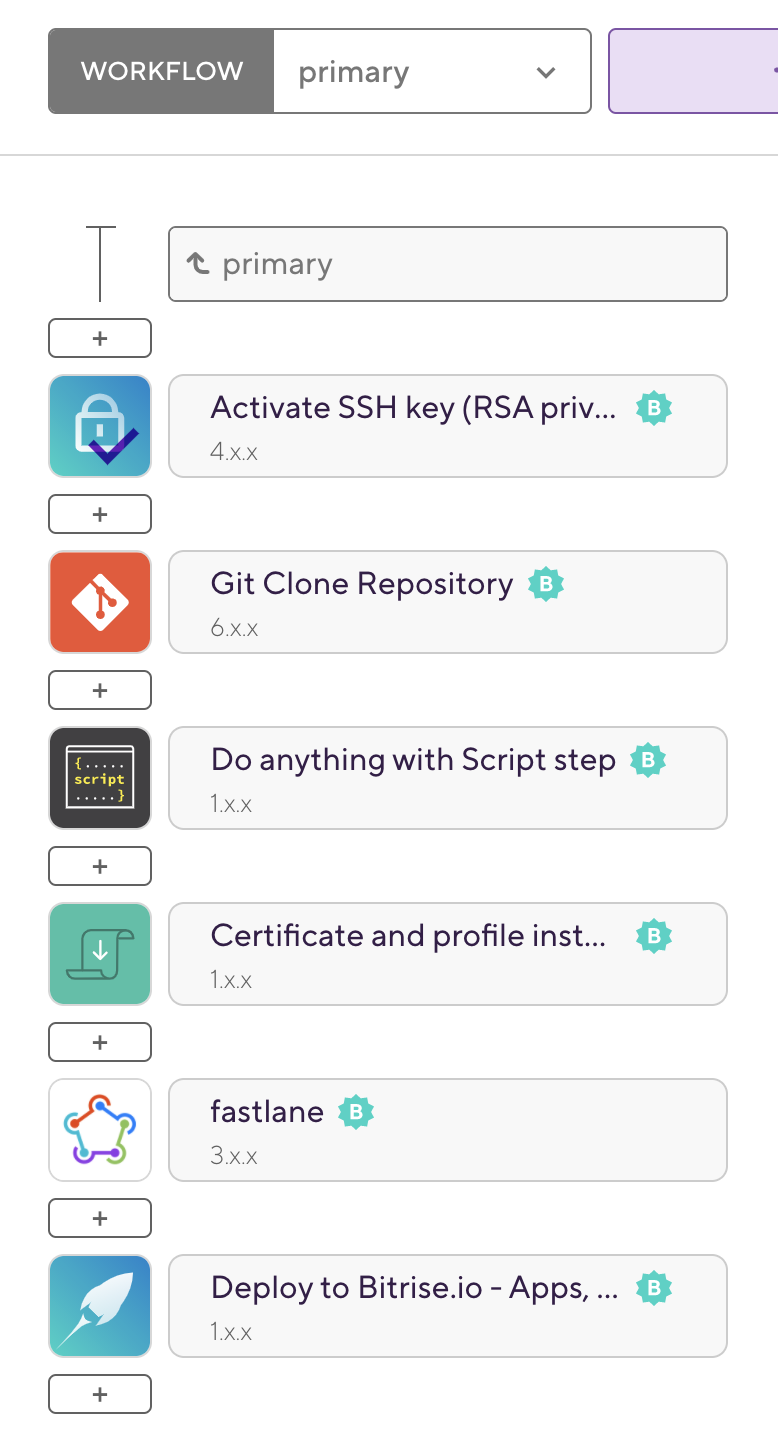
14. Now, let’s open the Workflow Editor to add or remove any required steps in our CI workflow

15. In the Workflow Editor, you will find that we already have the predefined Steps added.
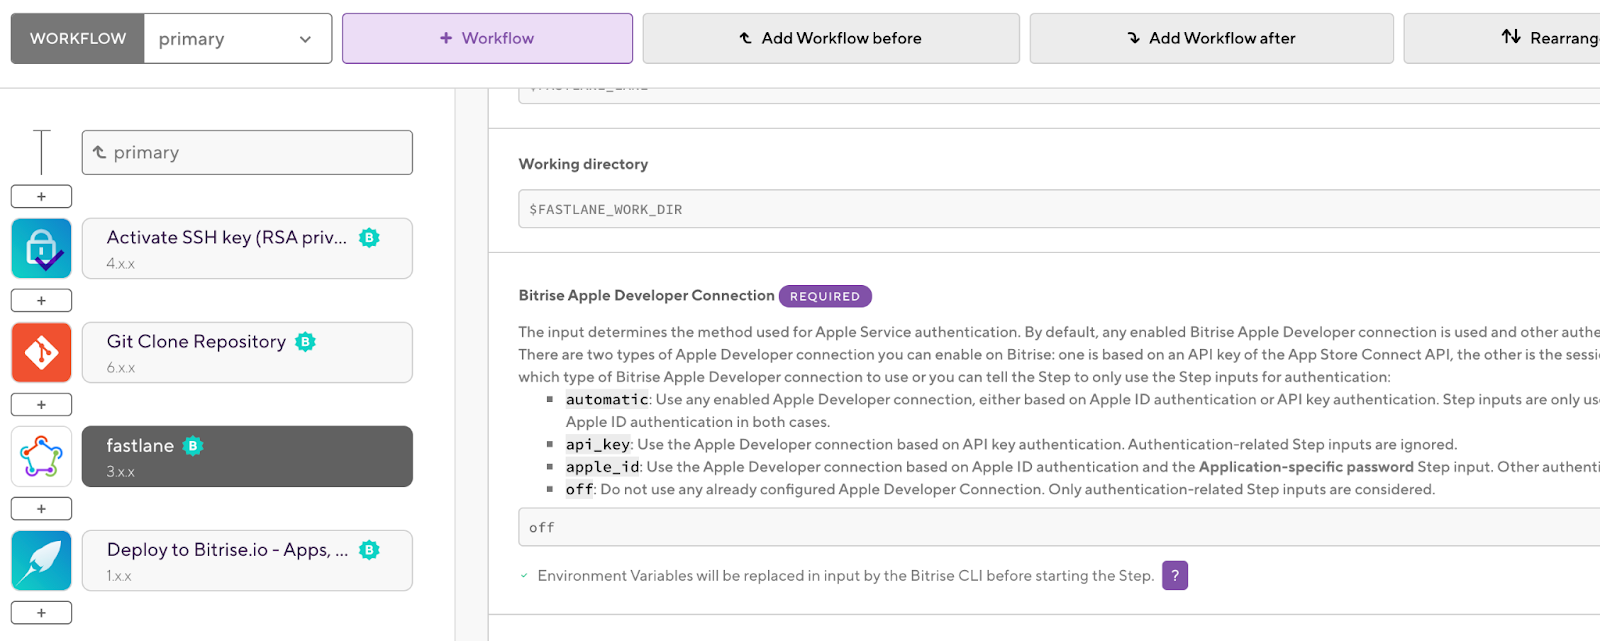
16. We will remove the script and certificate steps and change the value of the Bitrise Apple Developer Connection in the fastlane step to off (for now if we will not use it in our App or fastlane file).
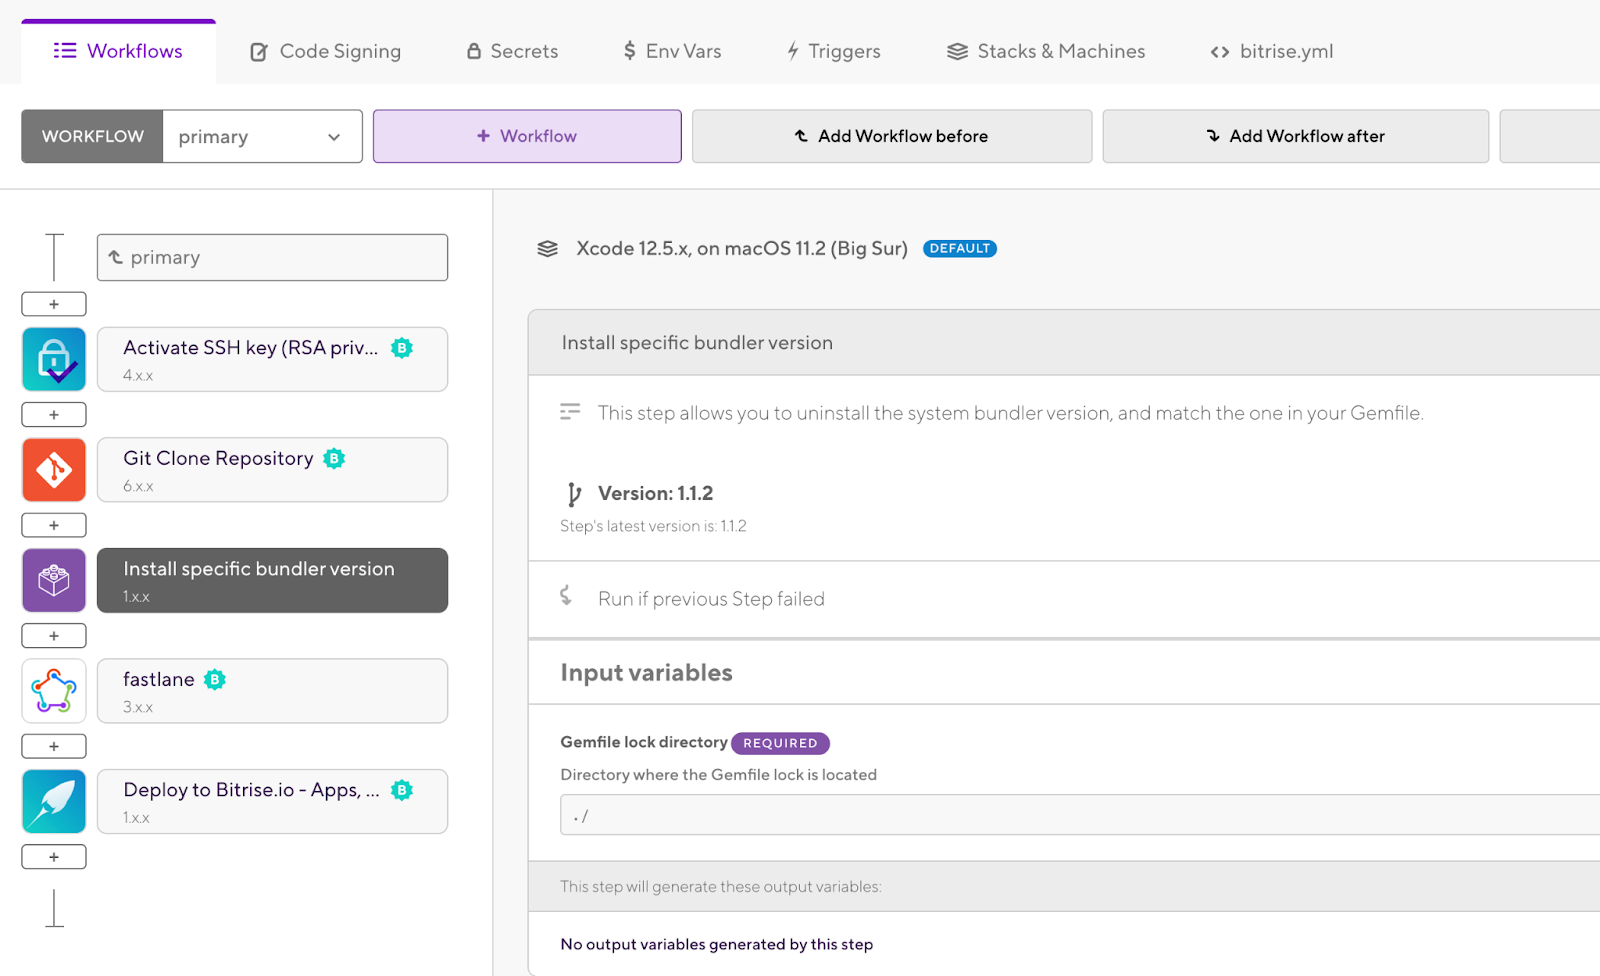
17. Then, we will add a new step by clicking on the plus (+) button and searching for the Install specific bundler version (because we have Gemfile in our project including our plugins and the other settings). We will leave the path of the Gemfile with the default value because the file already in the project main directory or root, and click Save button.
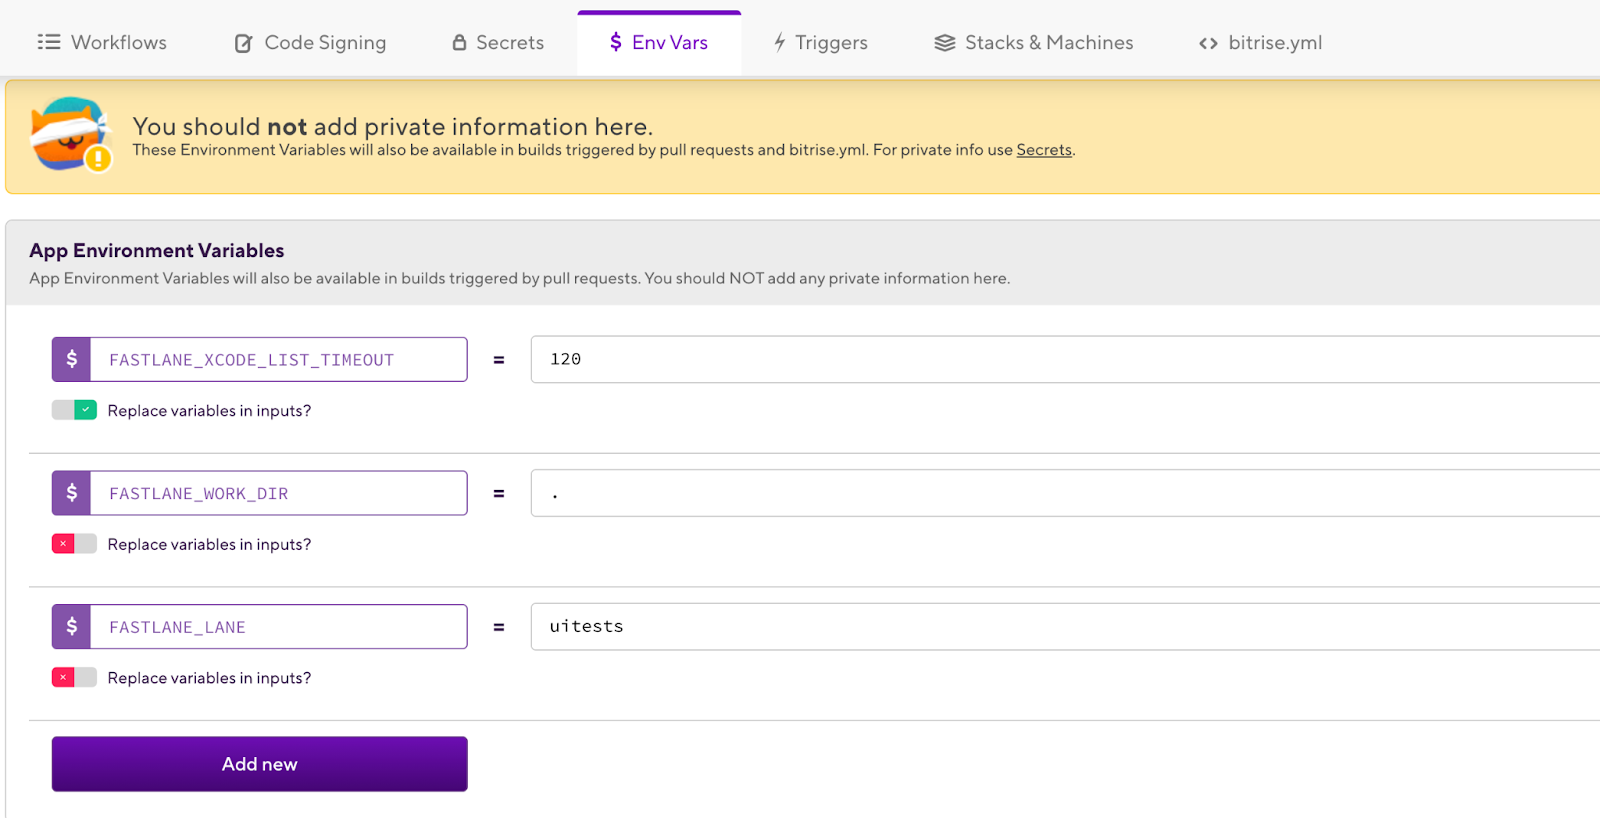
18. You may have noticed that in the fastlane Step, the lane name is added as an environment variable and the Working directory, if you want to change the values or add new environment variables you can click on the Env Vars tab.
19. Now we can run our build again manually from the app dashboard and click on the Start/Schedule Build button and click the Start button.

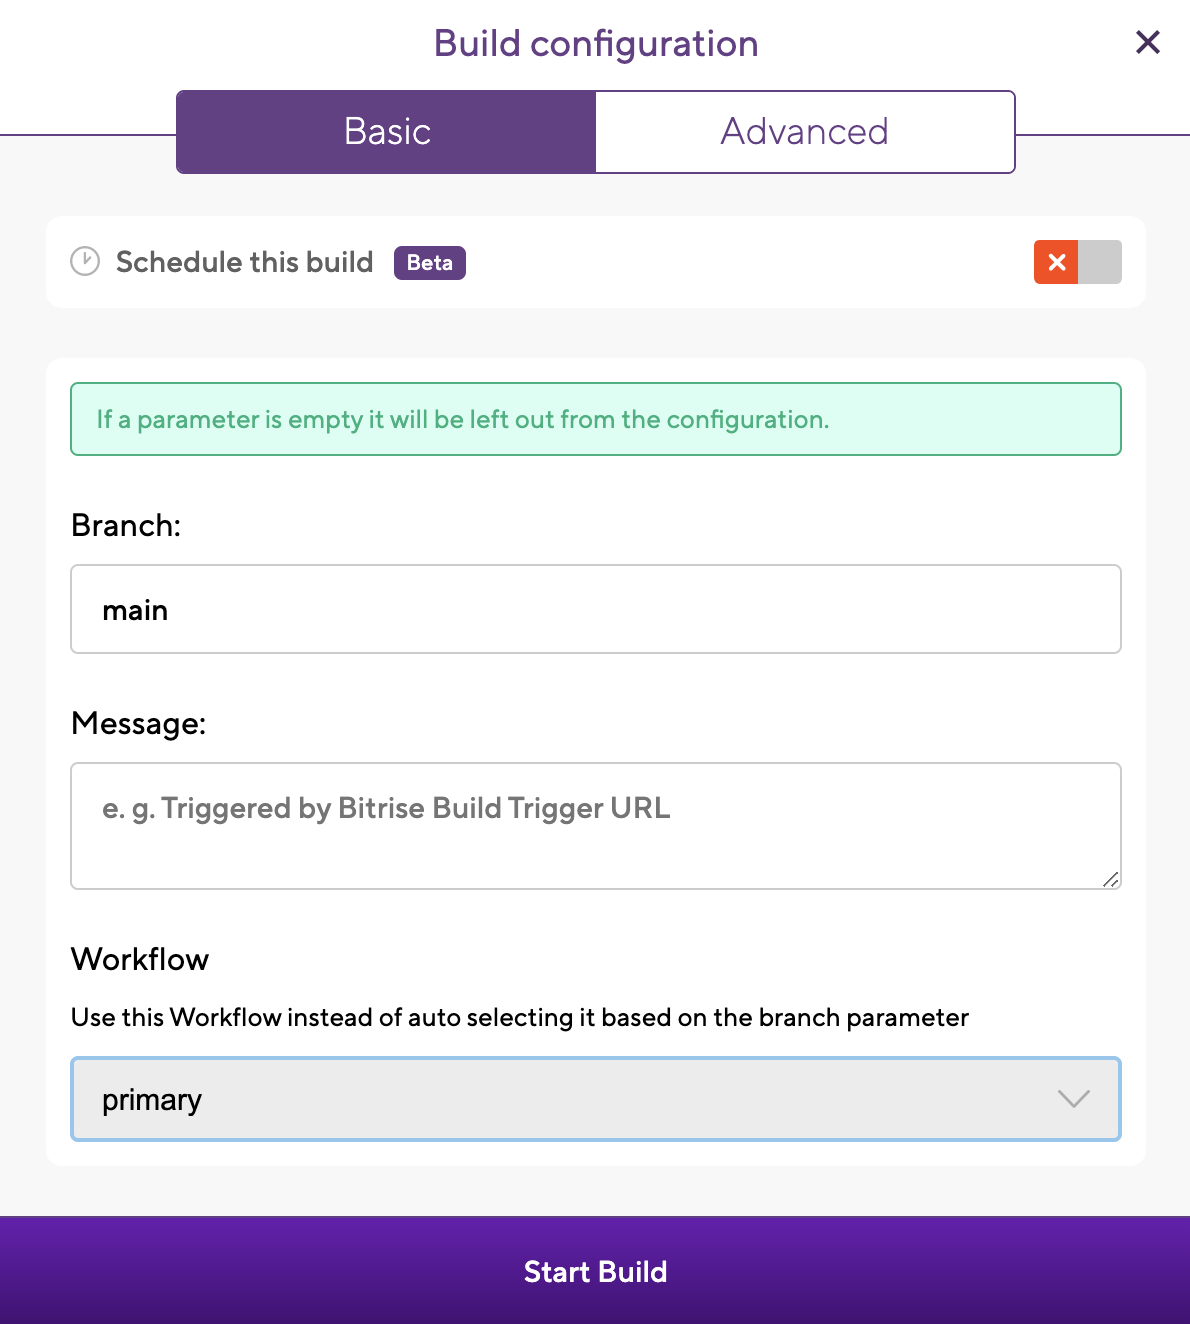
20. The build will start, and fastlane will start building our app, spinning up 3 the iOS, and run the UI tests in parallel
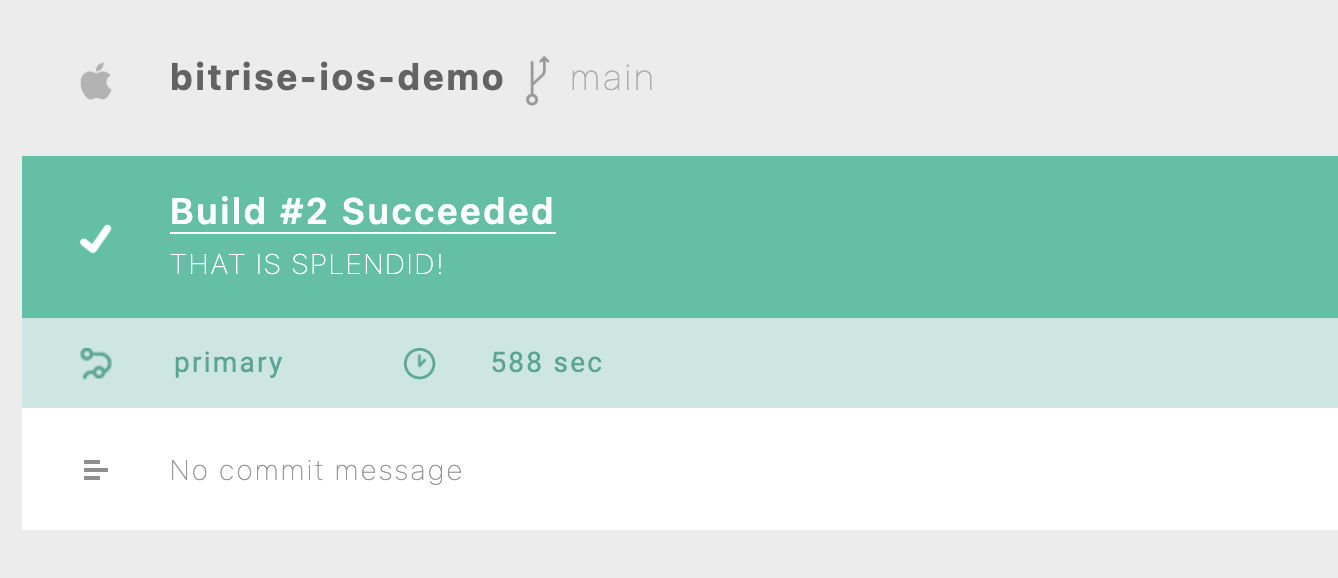
21. At the end, the build will finish successfully and you’ll receive an email with the build results.
Do you want to further reduce your build times?
If your team is scaling and you need to reduce your build times even further, you can use an additional feature from Bitrise to run parallel builds. You can run different sub or small Workflows at the same time to reduce the main Workflow time. Check the Bitrise Start Build or this article on how you can use it for your iOS app.
Another thing that will significantly speed up your builds is our recently introduced Gen2 Infrastructure. This next generation of Bitrise Build Infrastructure offers the strongest machines for improved performance, stability, and security. For more information, check out our Gen2 Benchmark report.
Congratulations! 🎉 You have successfully decreased your iOS UI tests with fastlane and Bitrise.
Further Reading:

%25202.png)